


Hope you enjoyed the Zscaler Firewall tour!
Let’s recap what you learned:
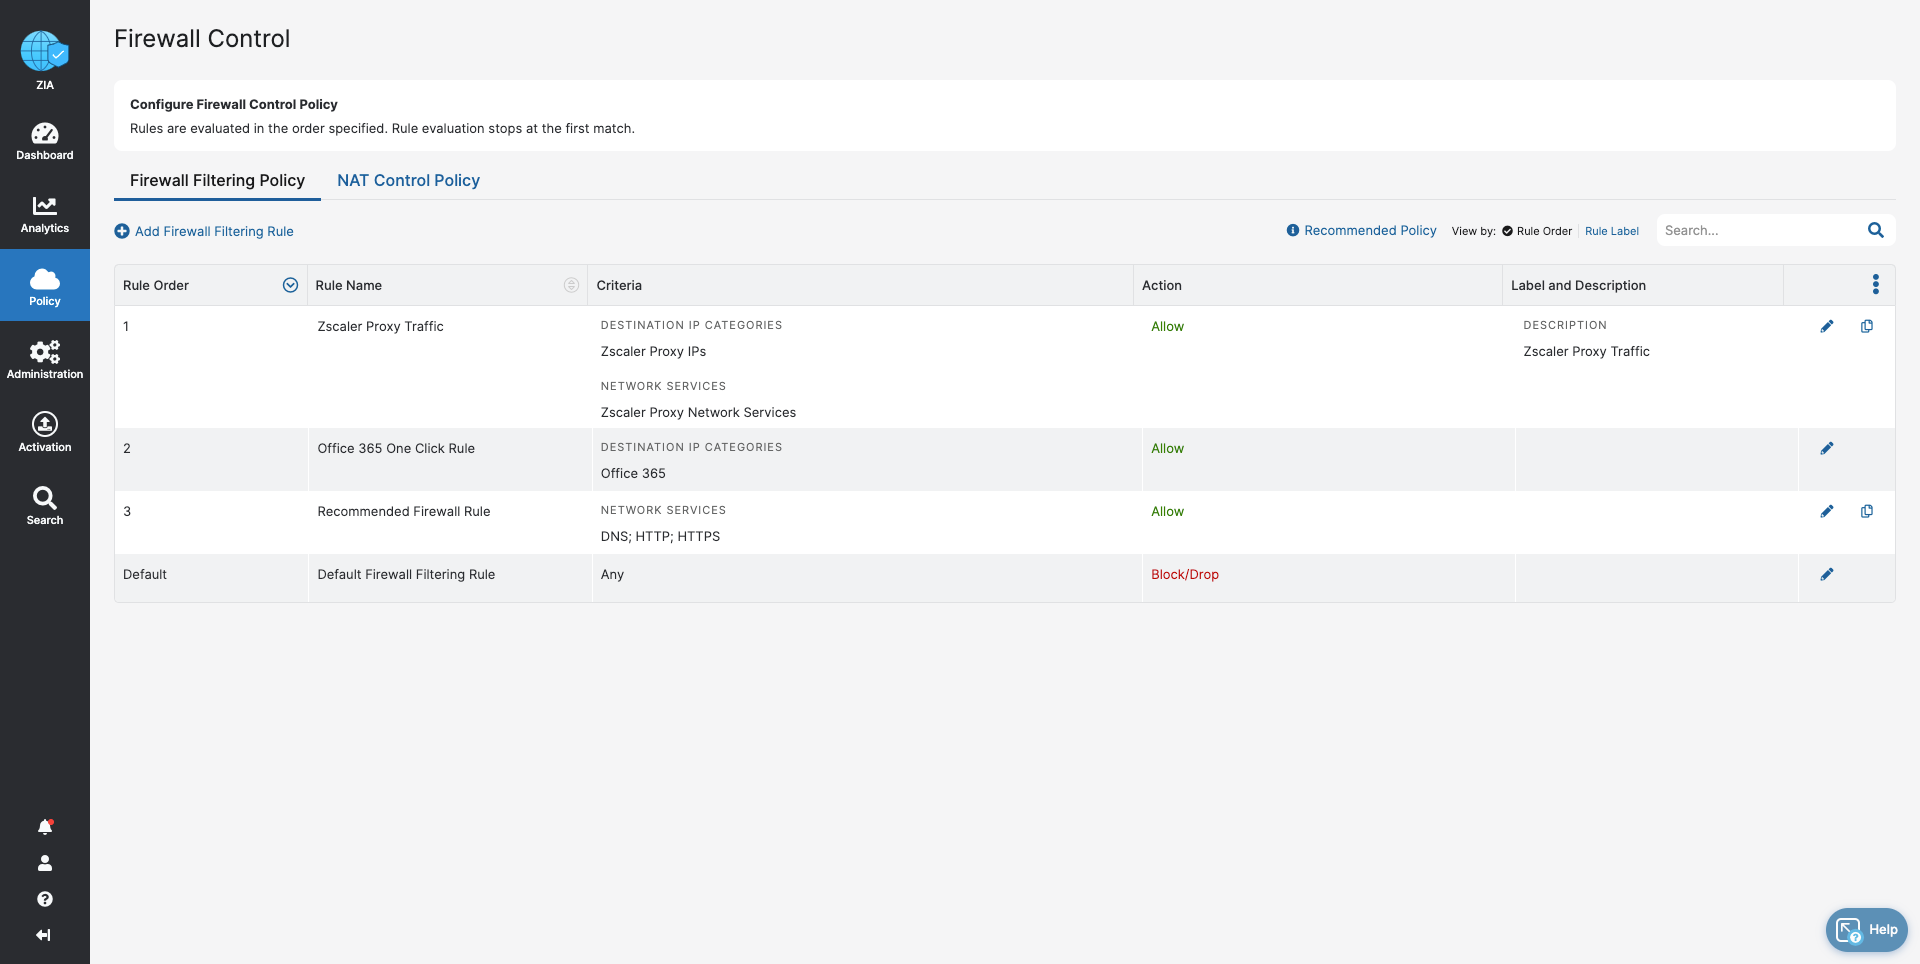
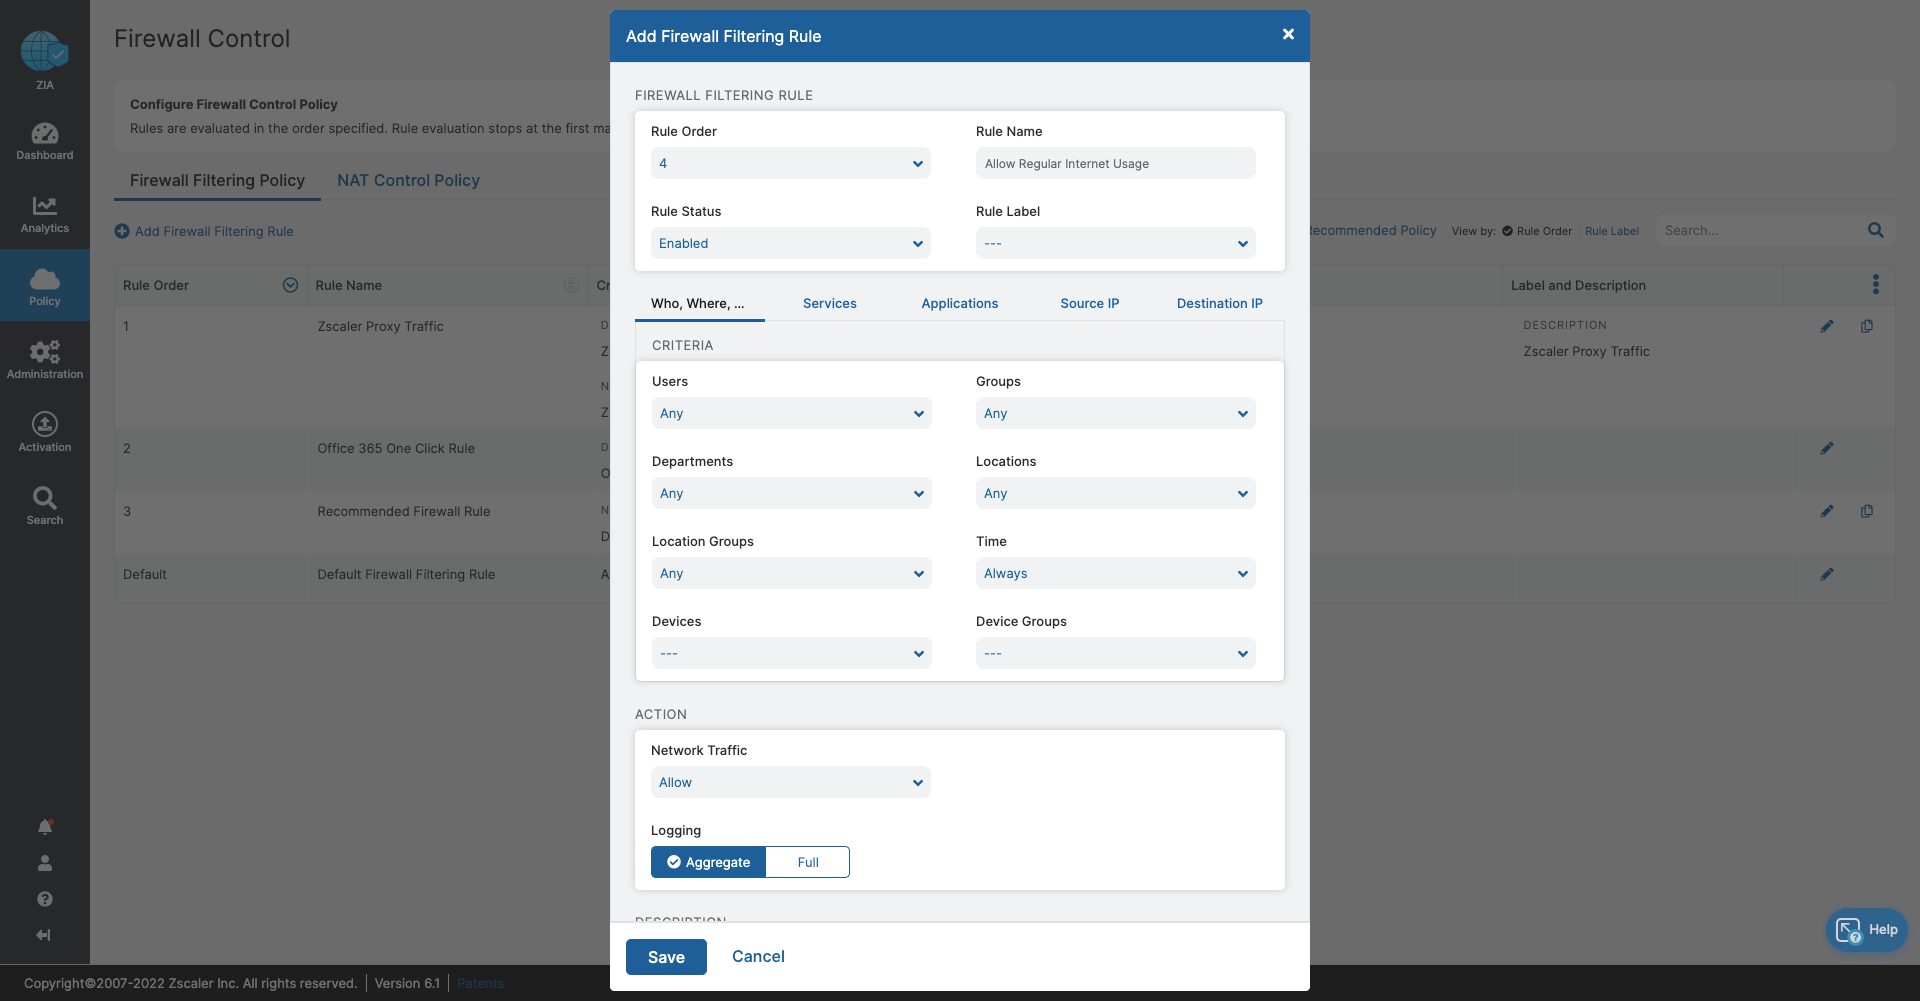
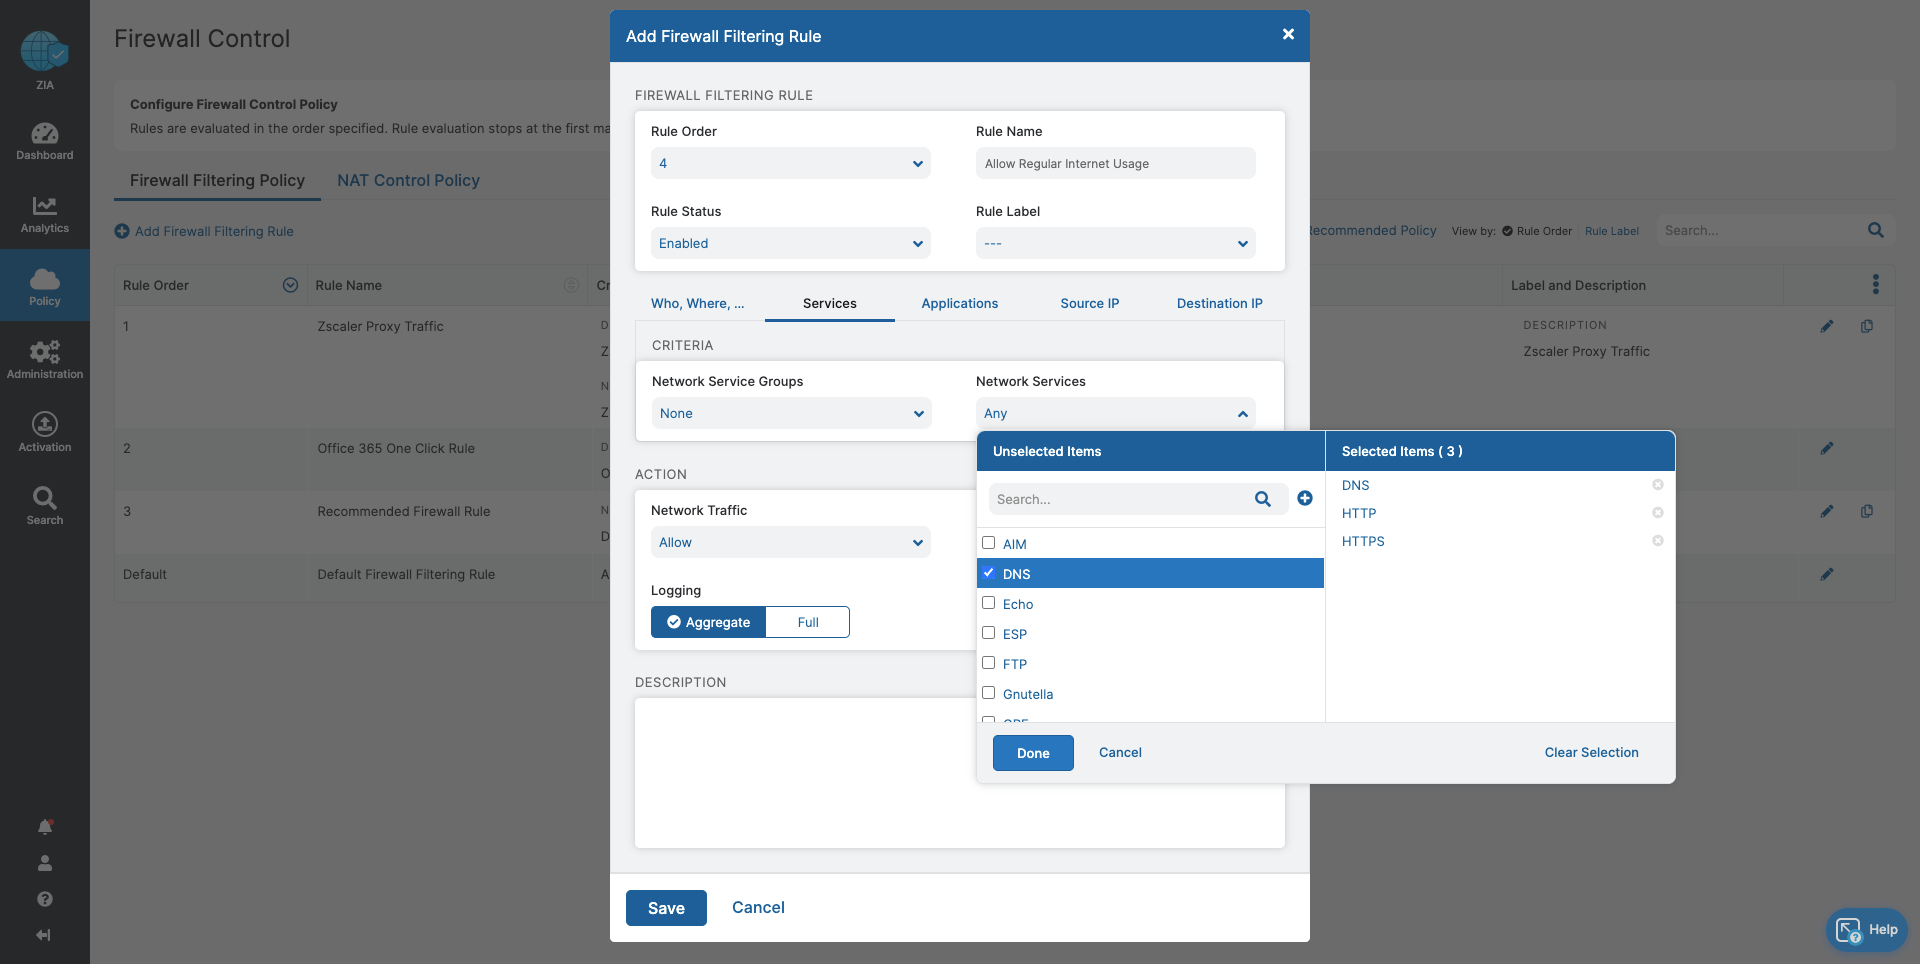
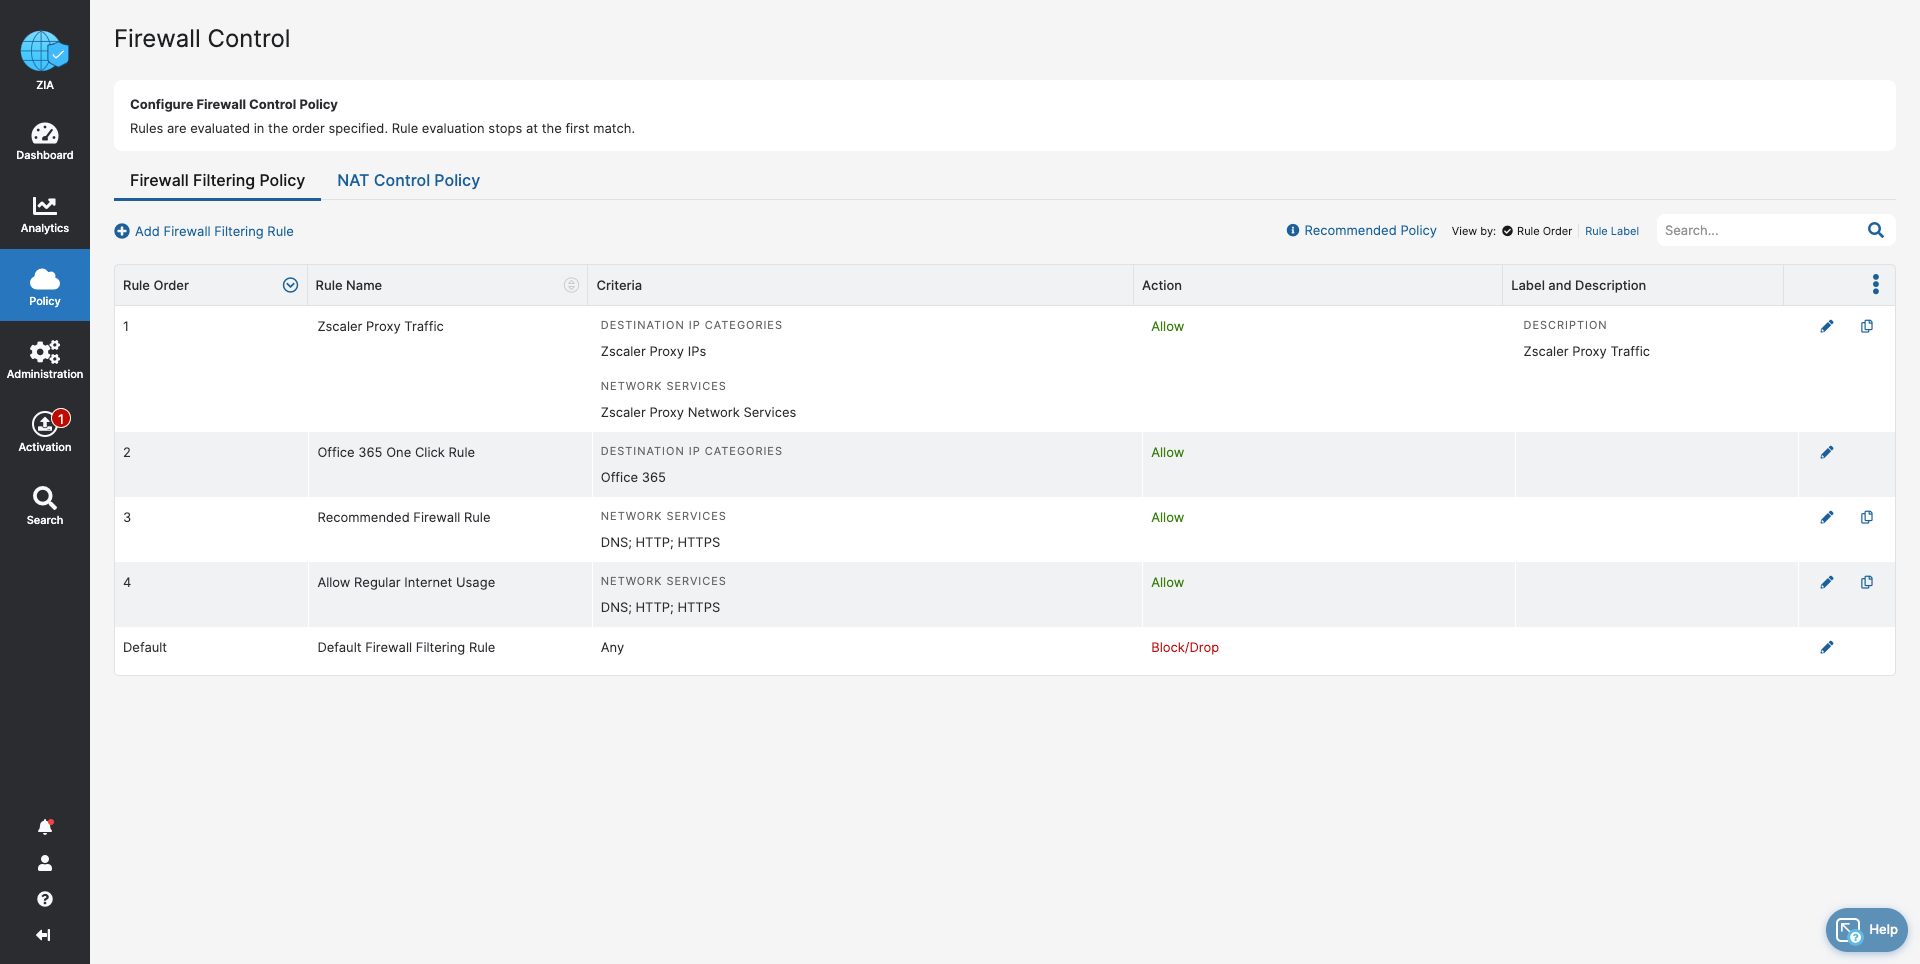
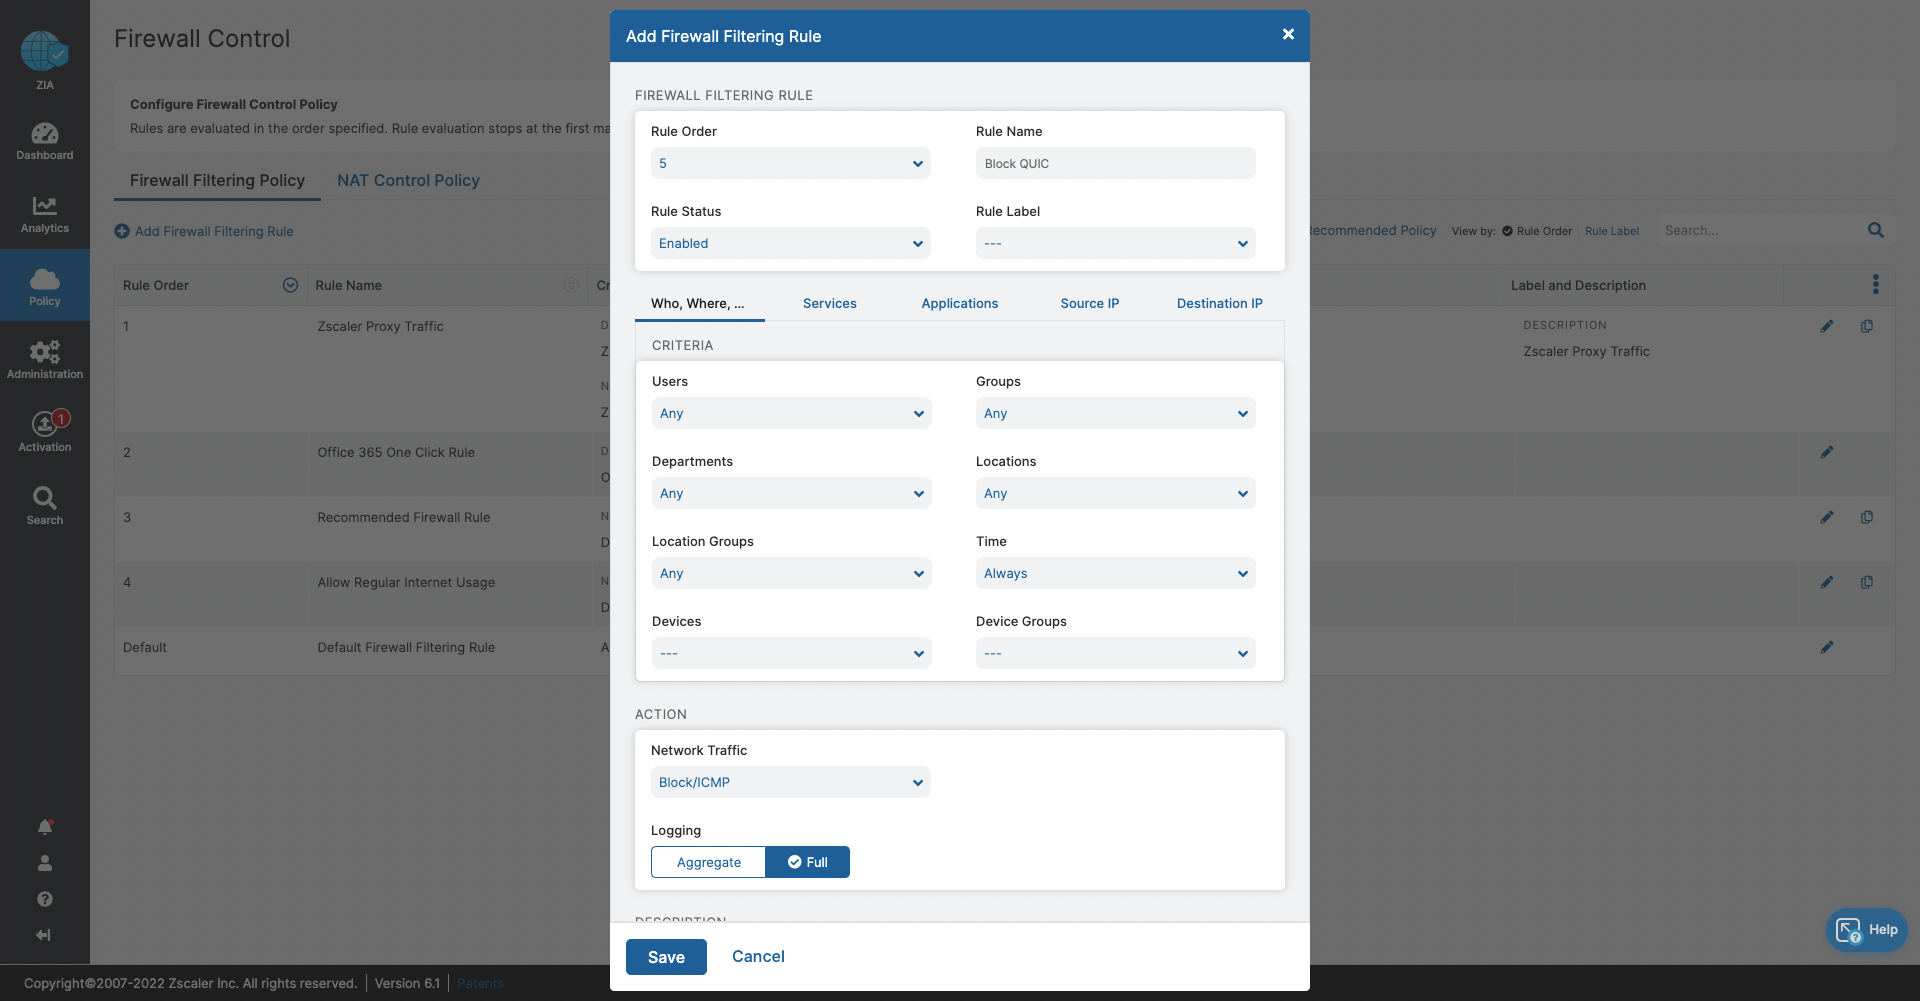
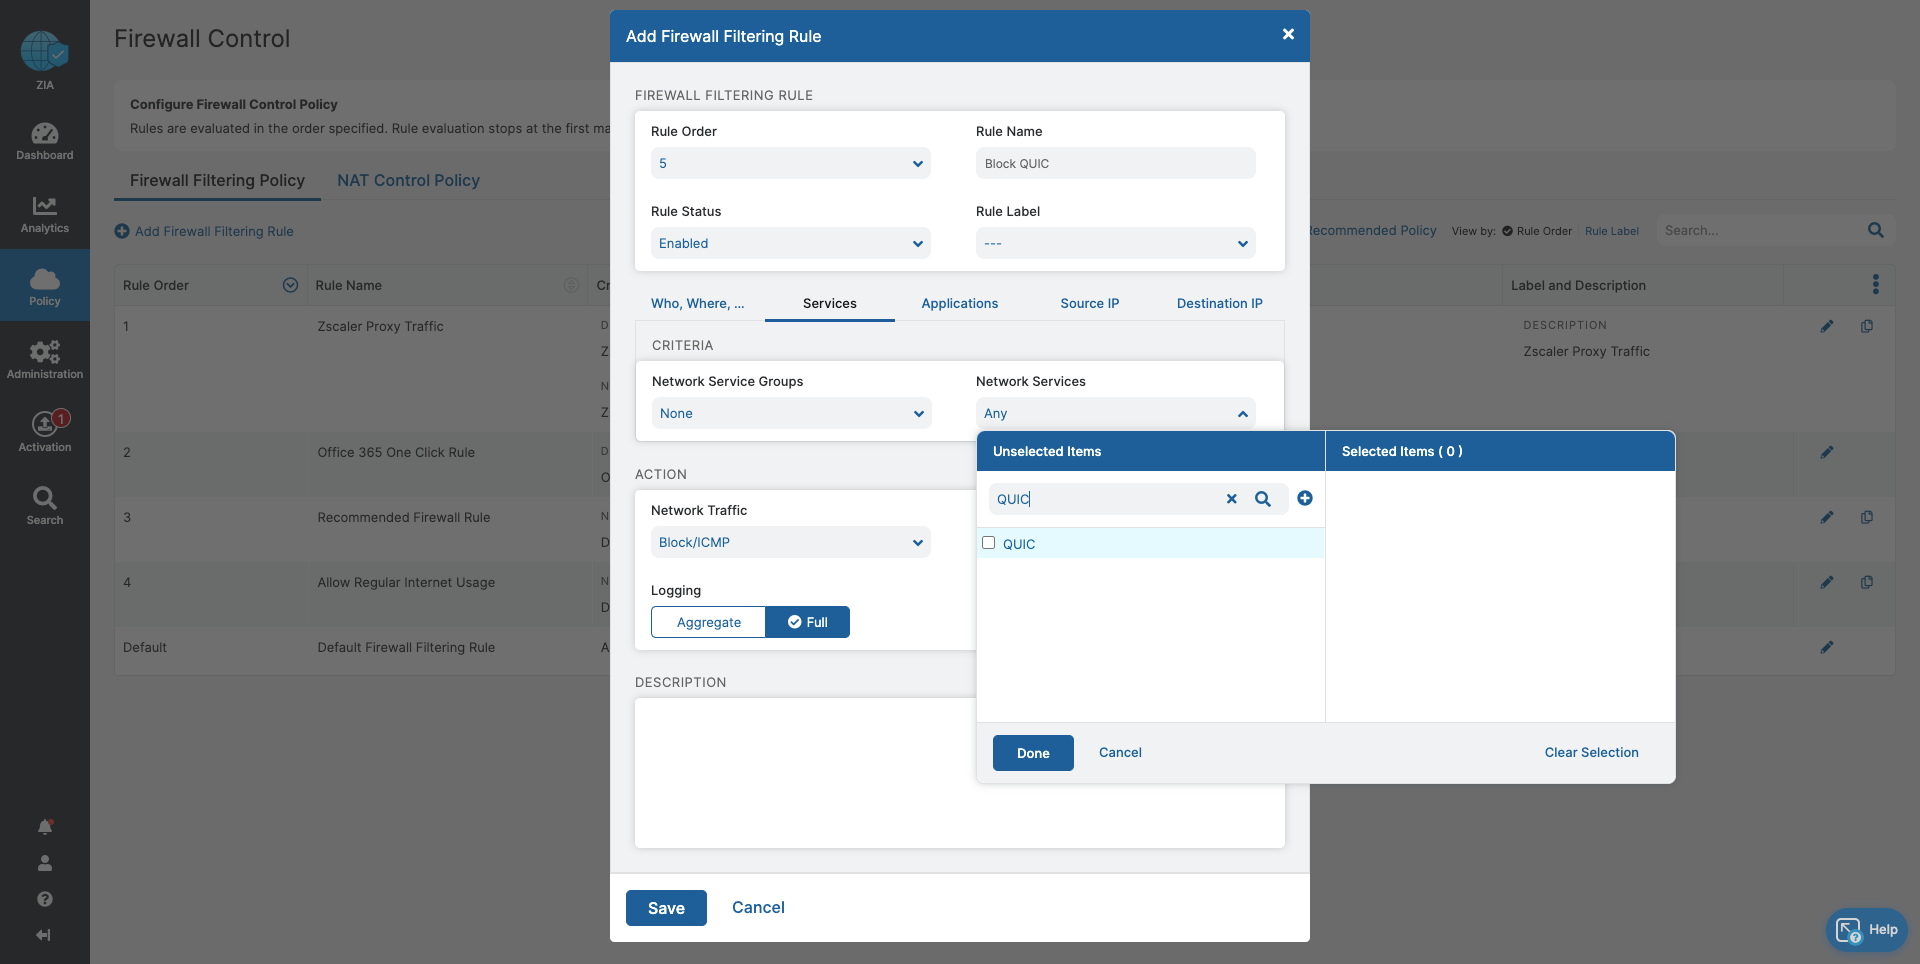
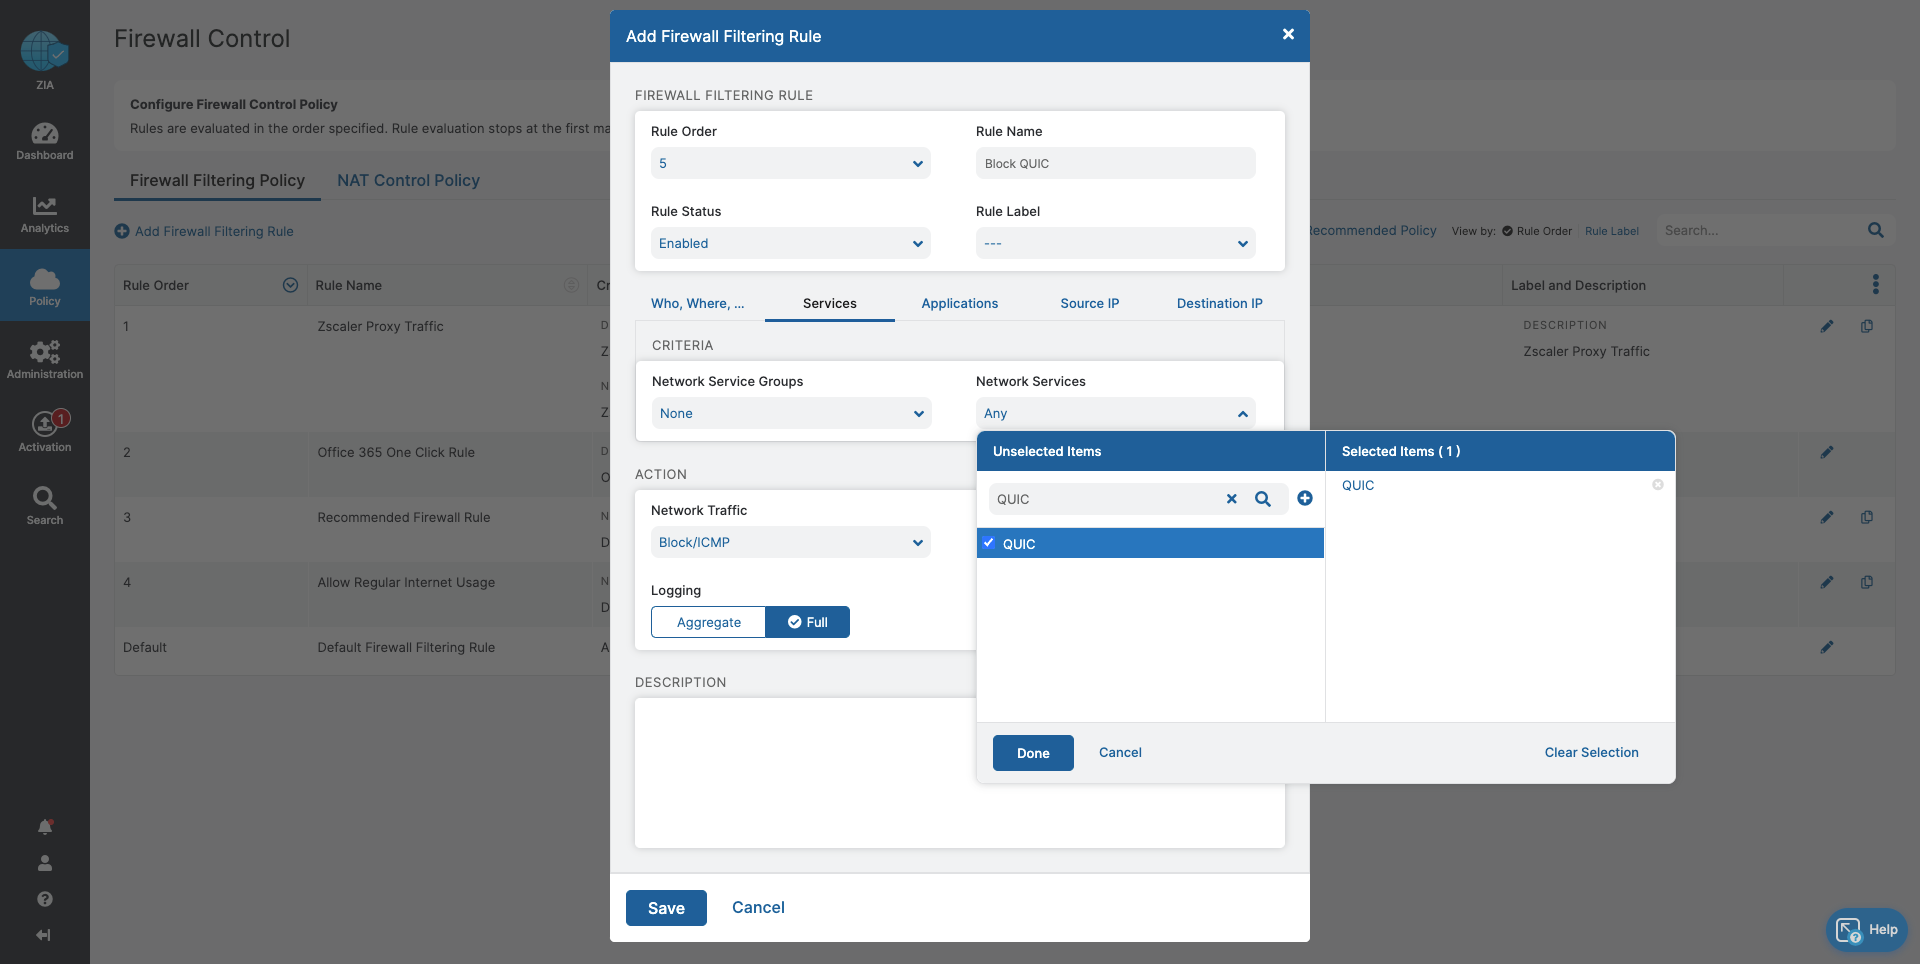
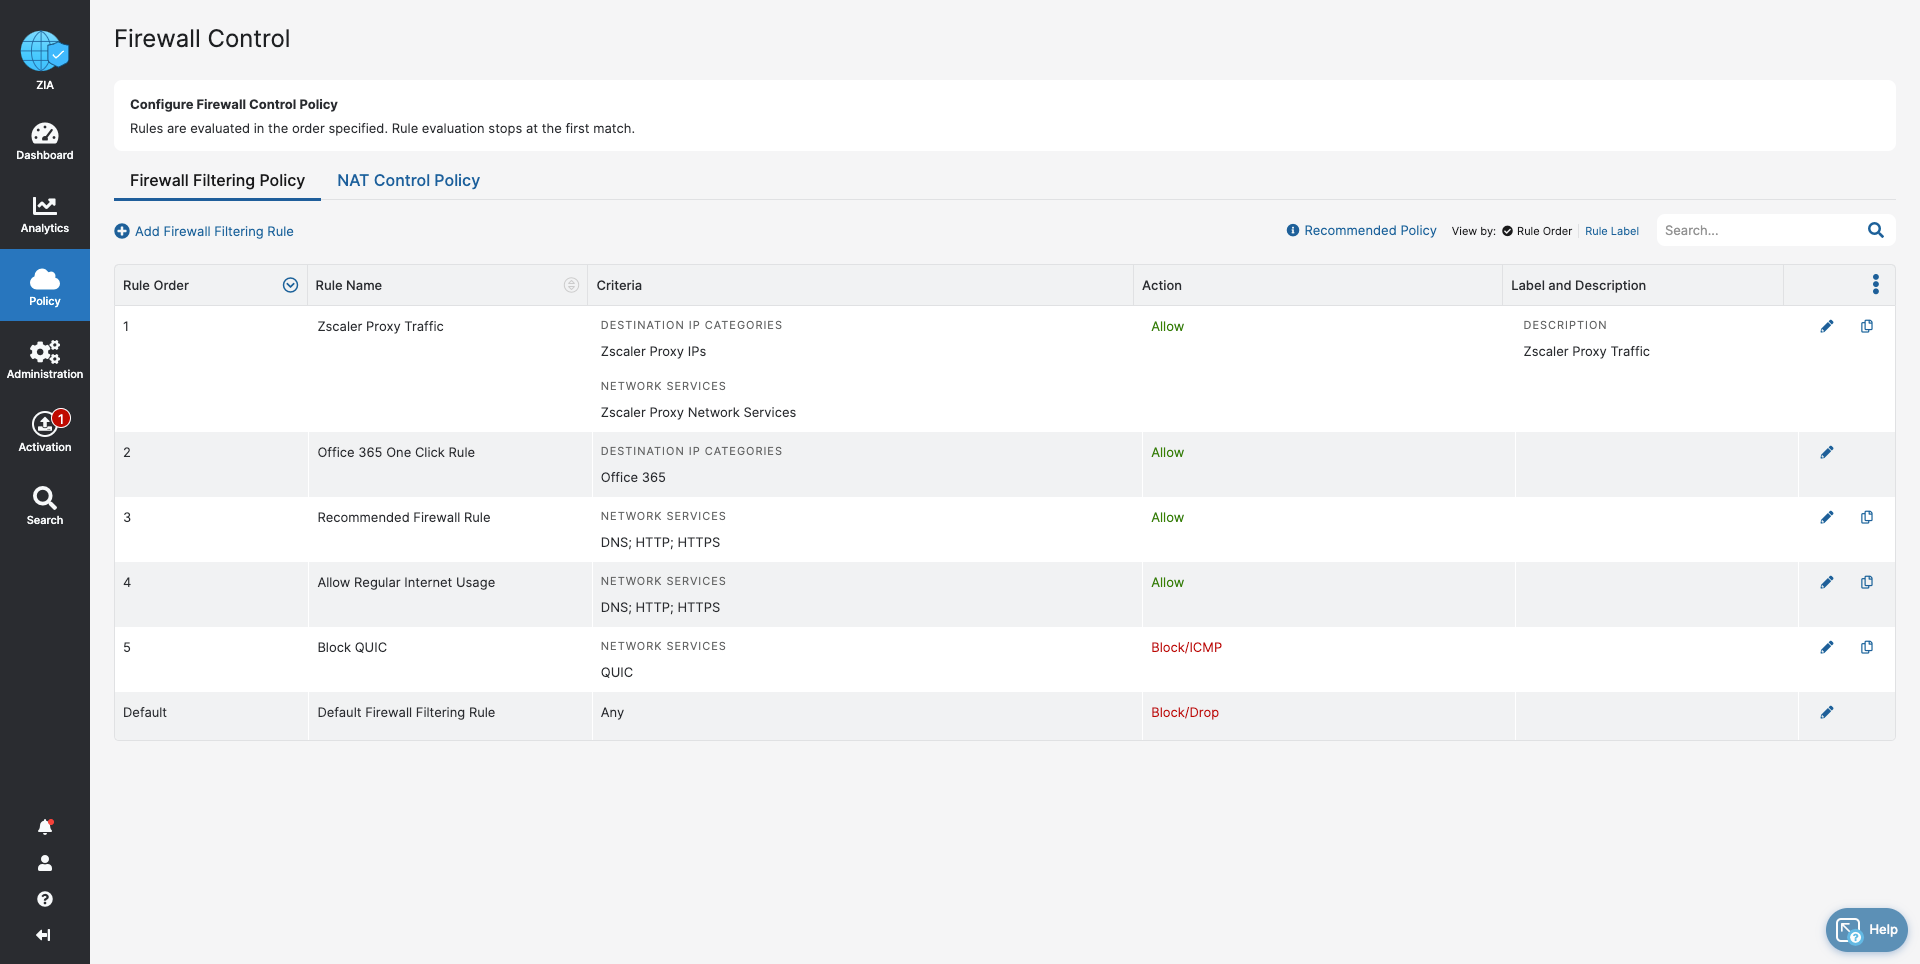
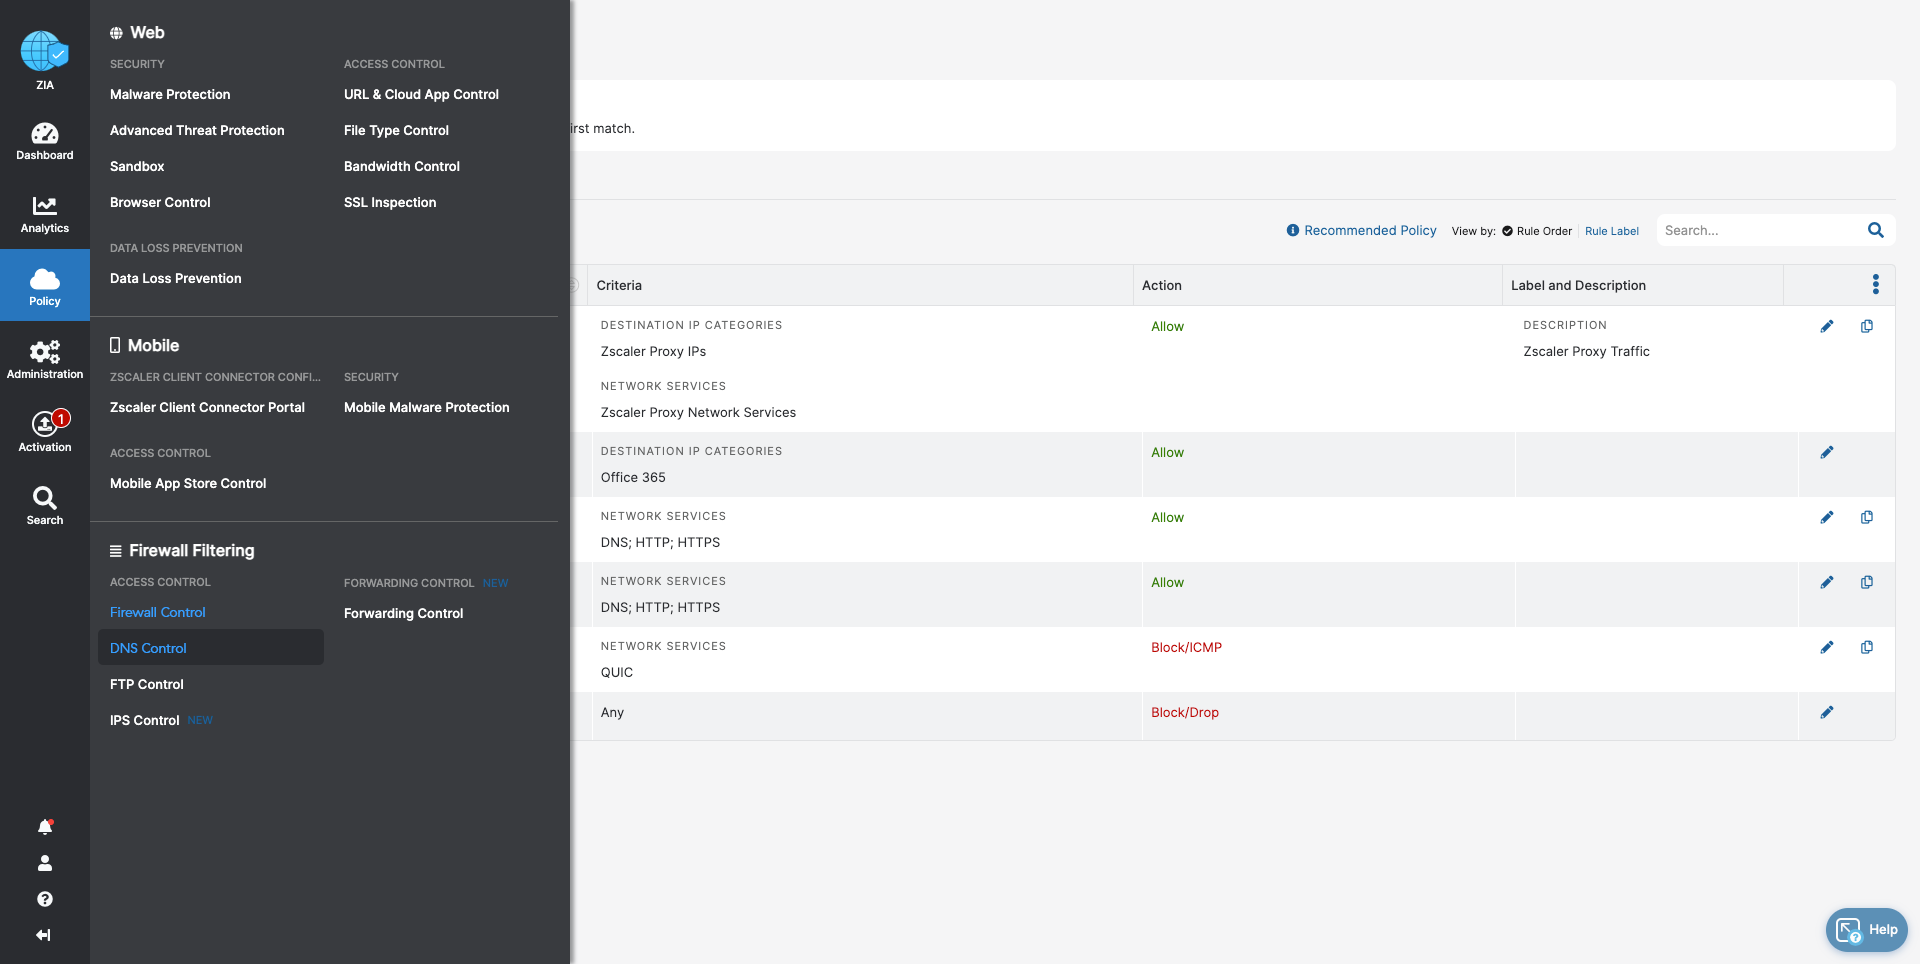
- Firewall Control
- Block traffic that cannot be inspected by Zscaler
- Ensure acceptable, regular internet usage for all users, devices, and locations
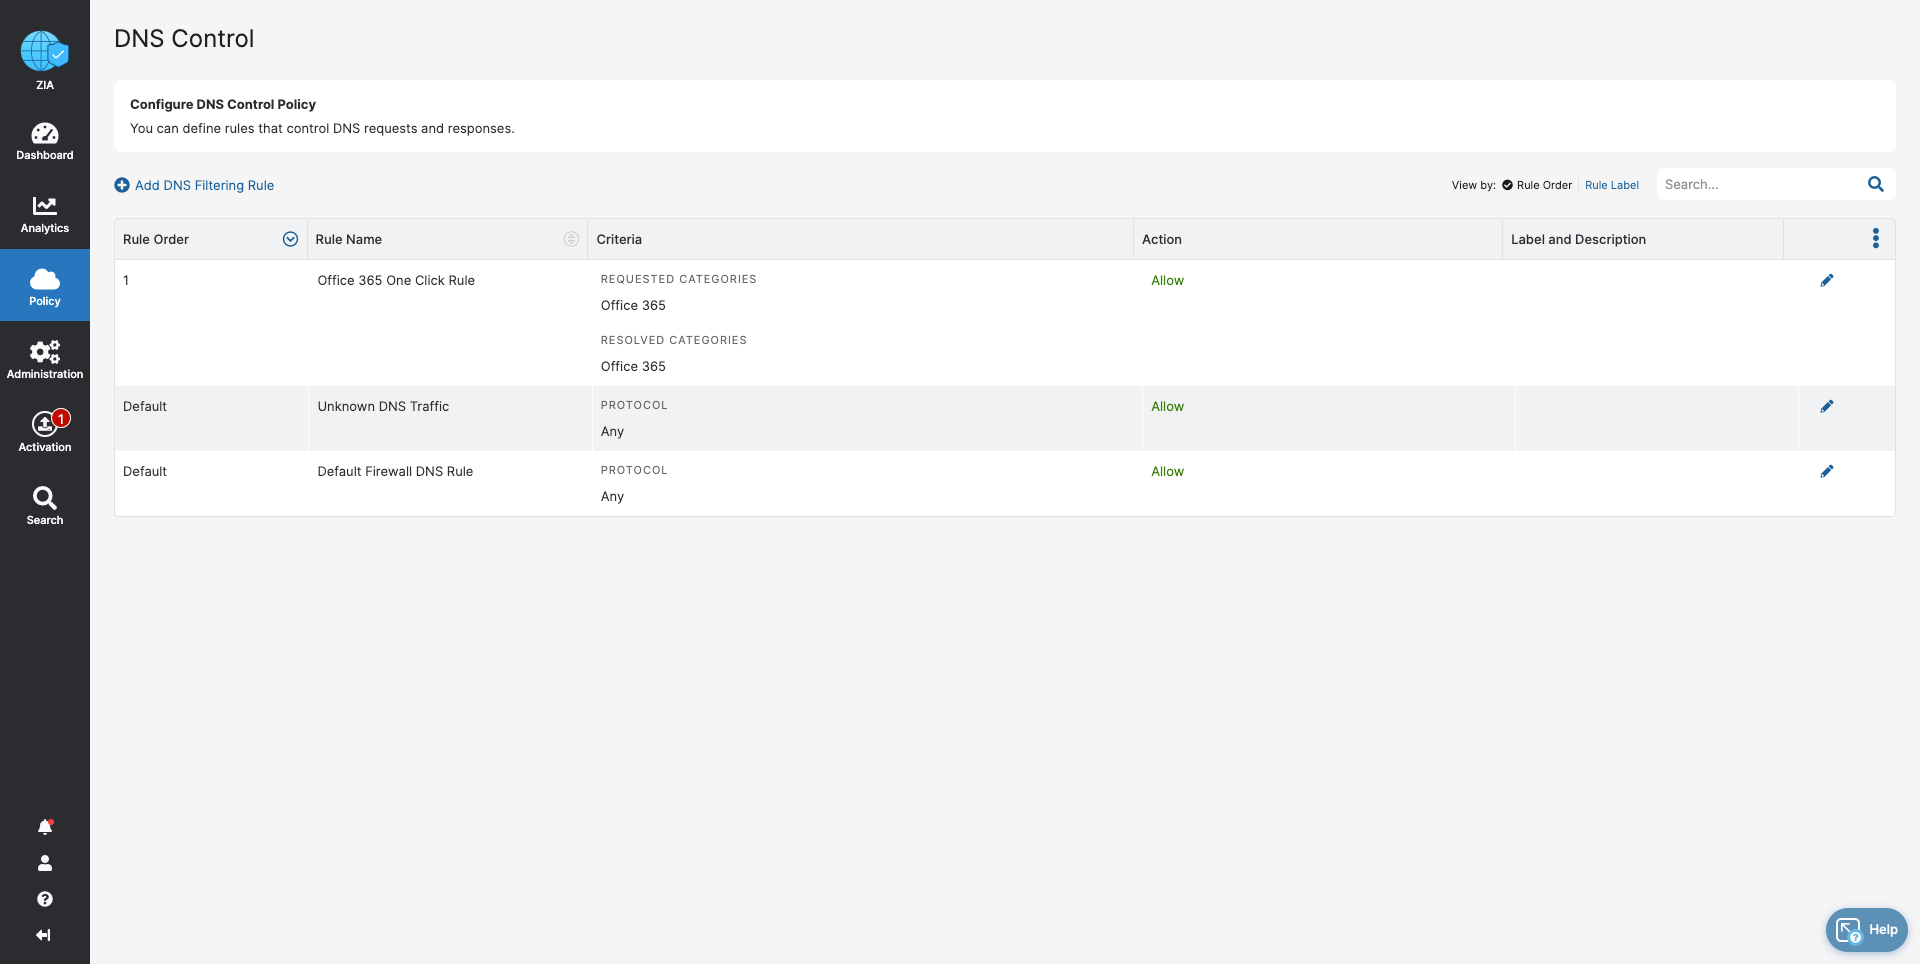
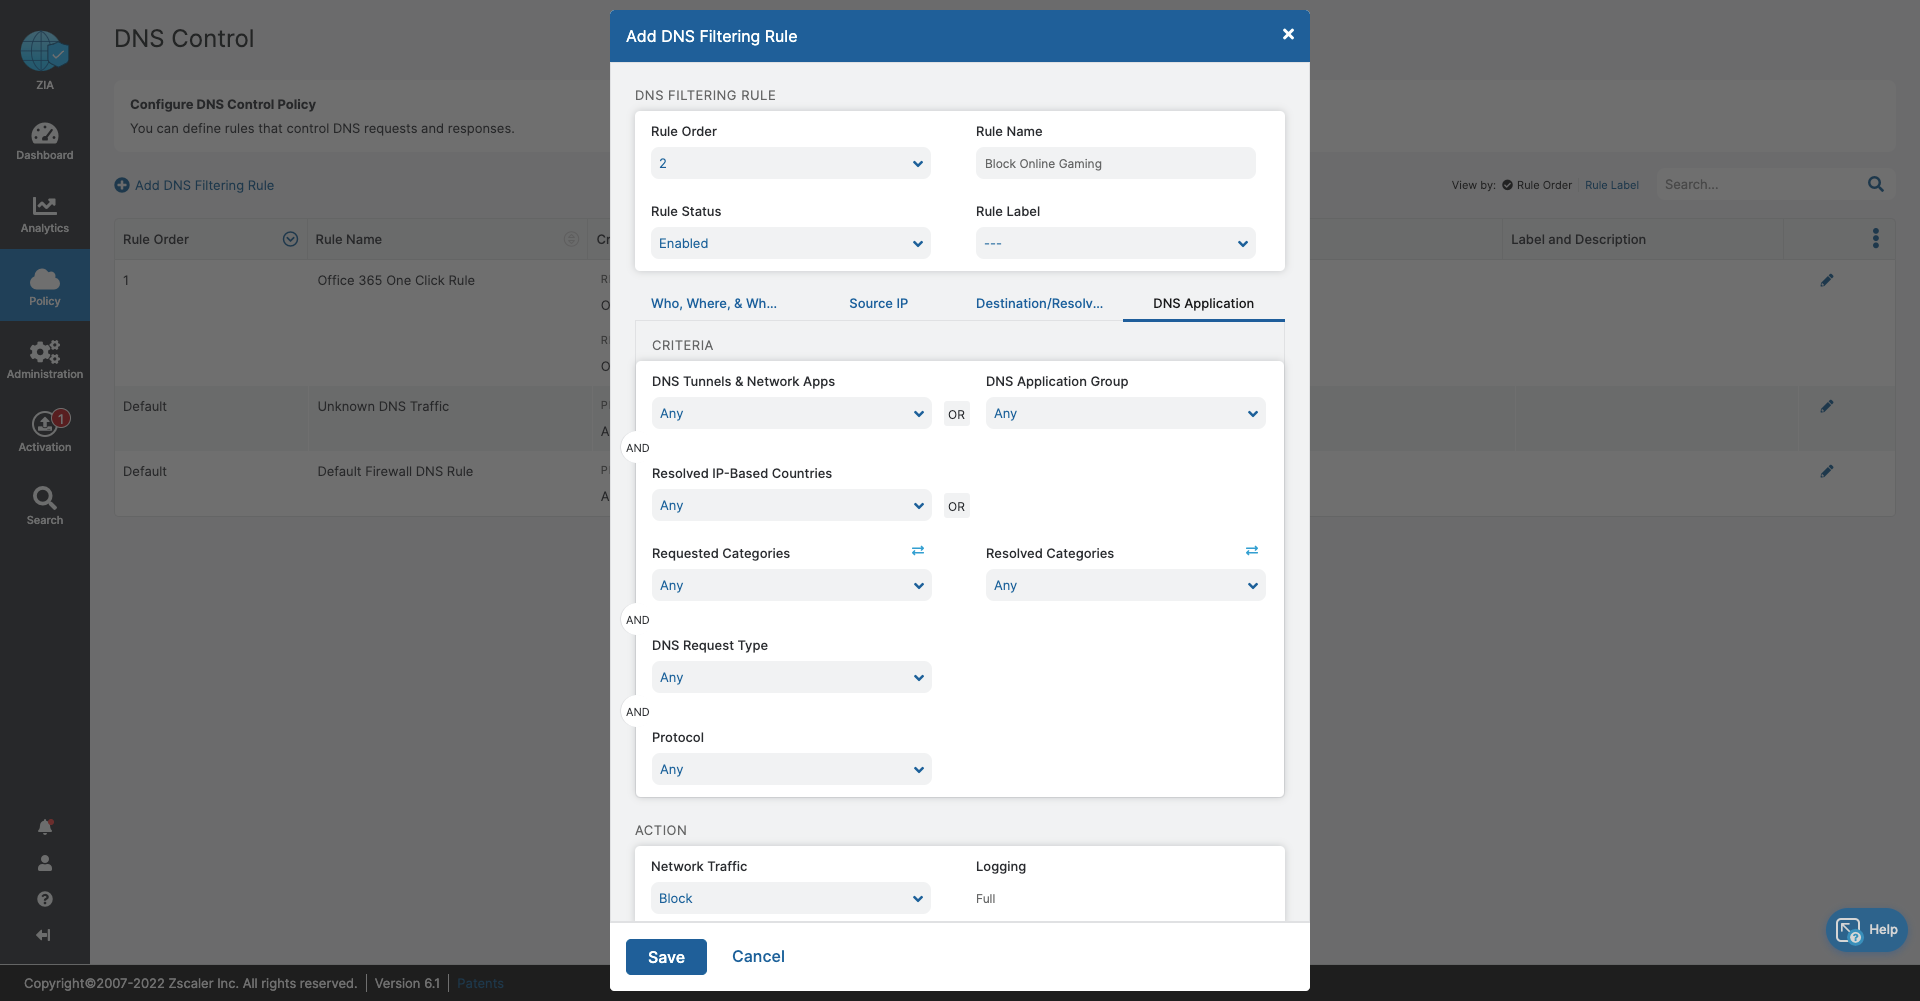
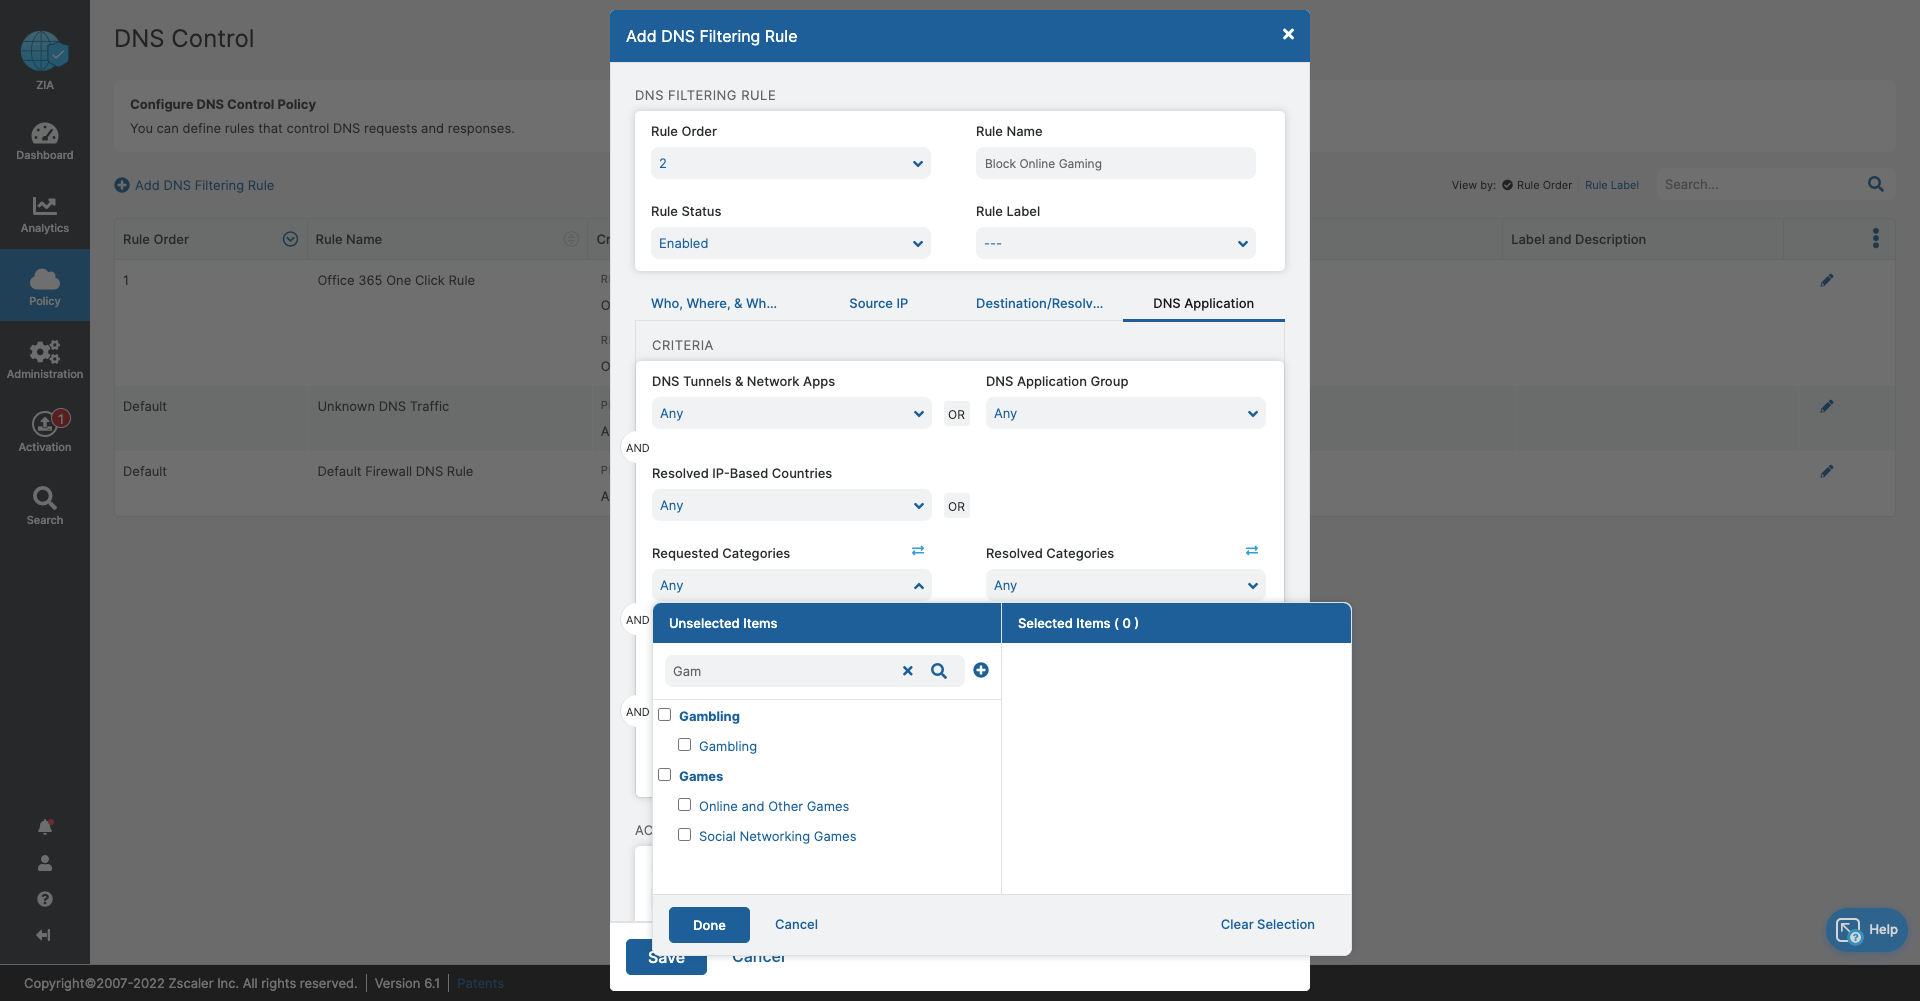
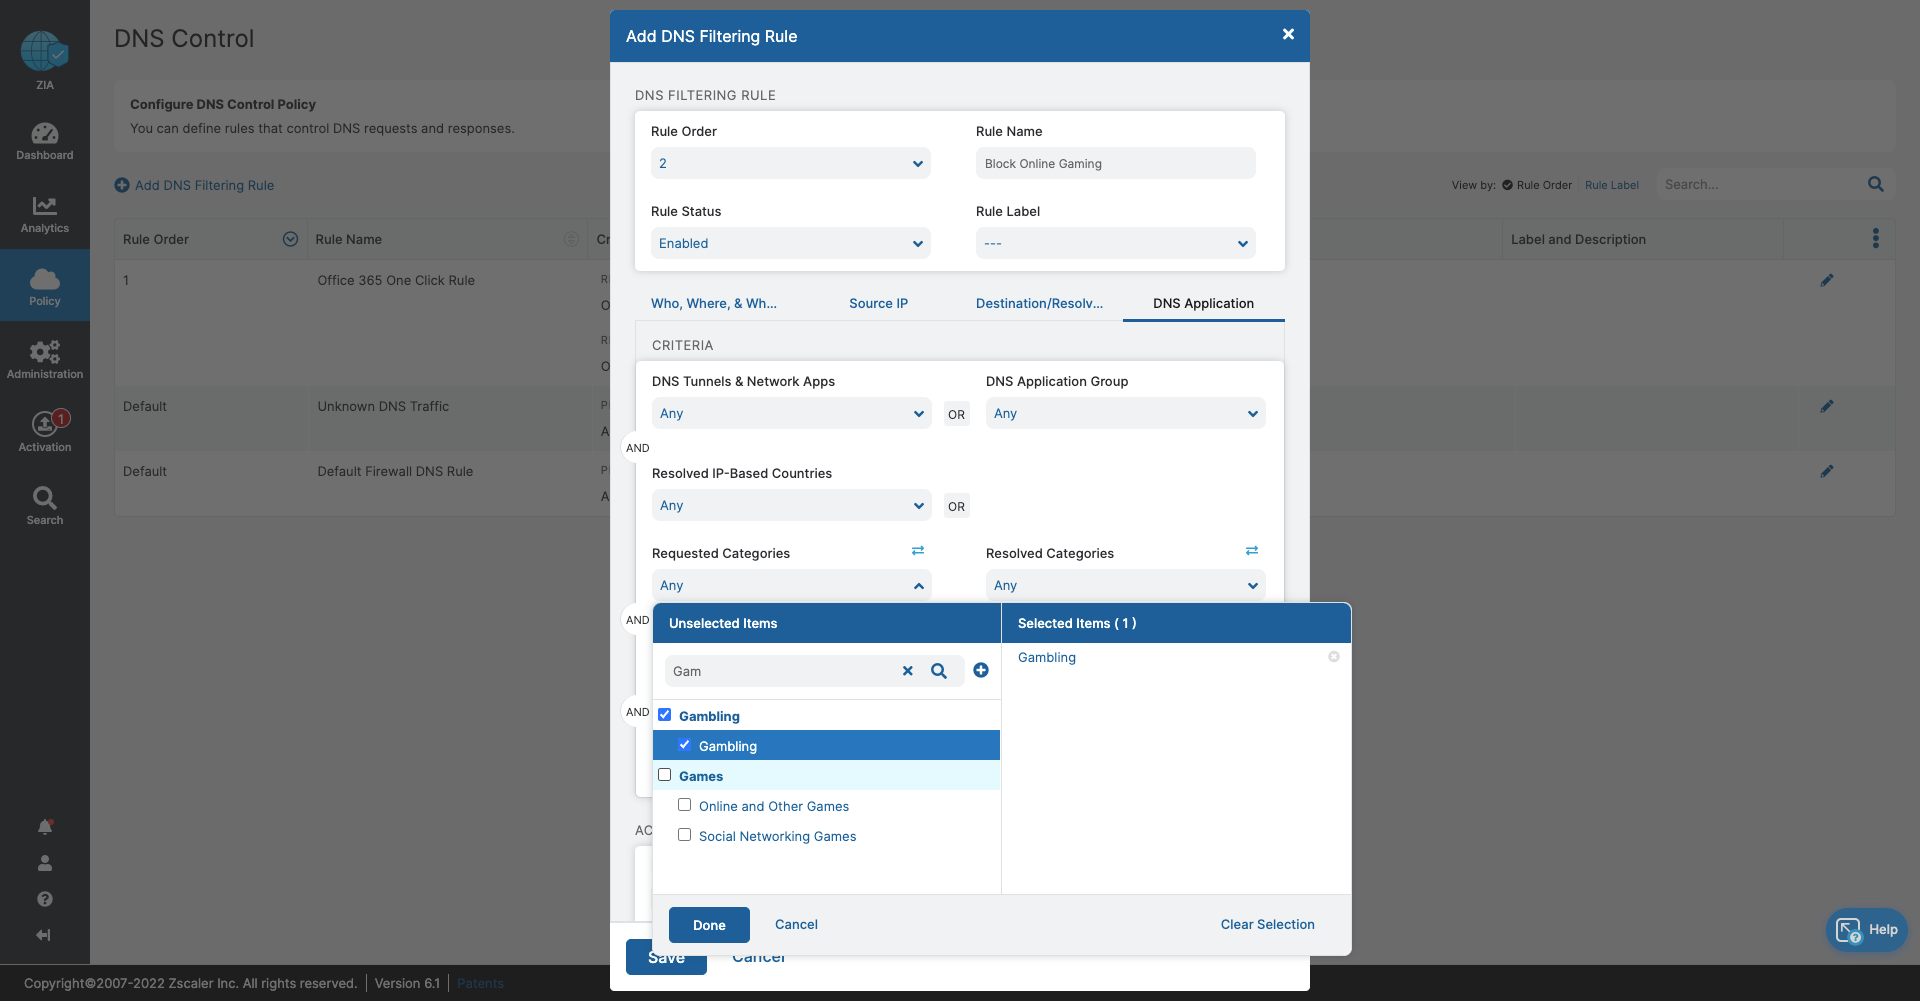
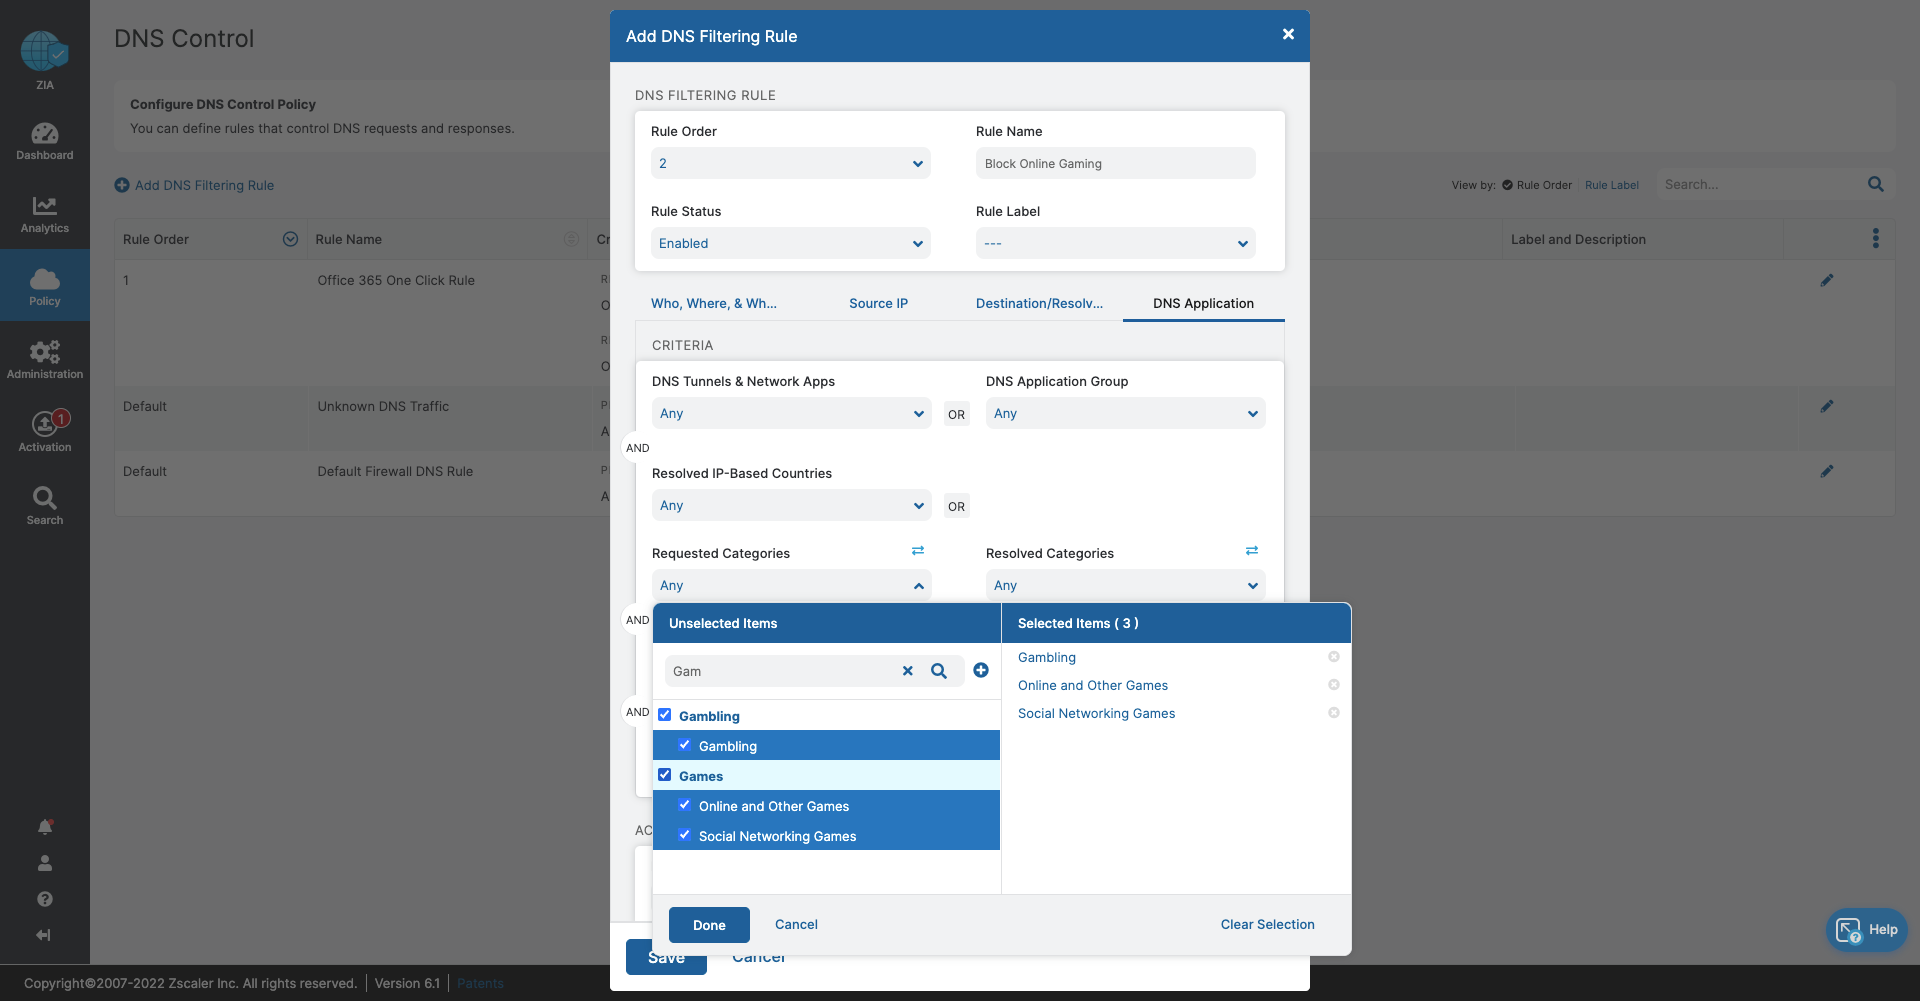
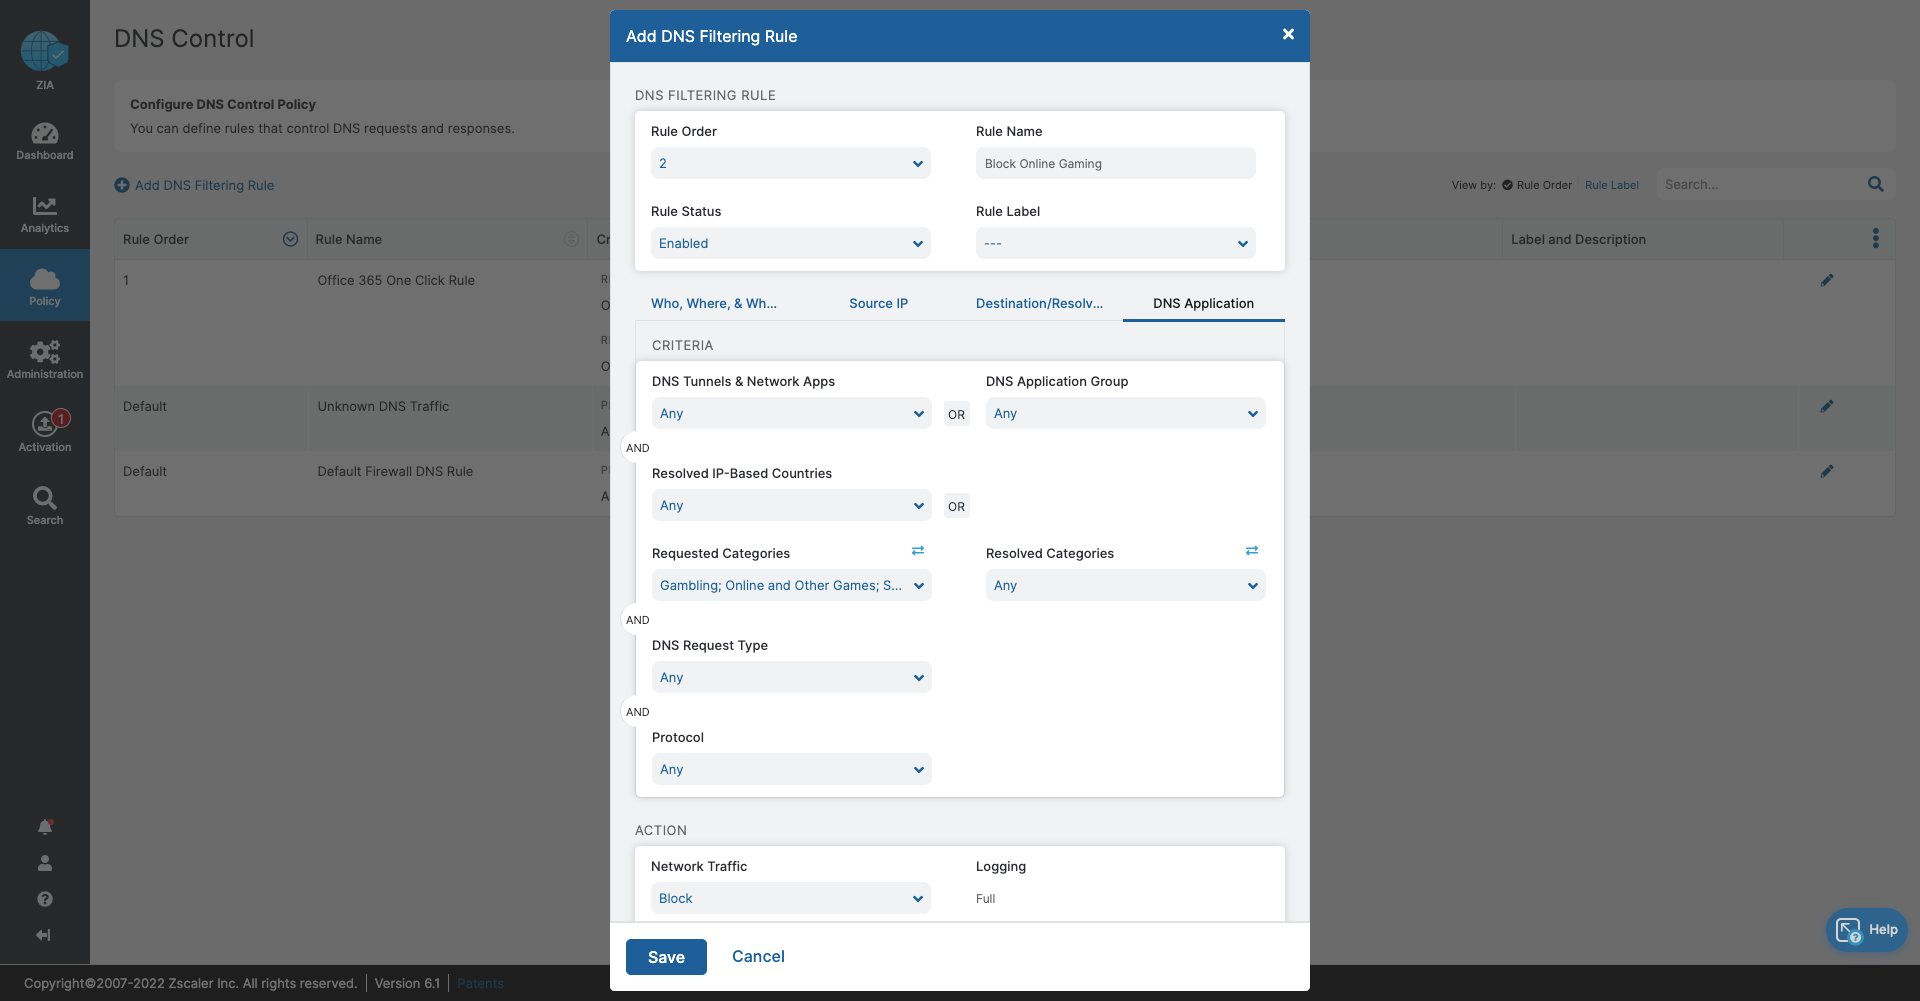
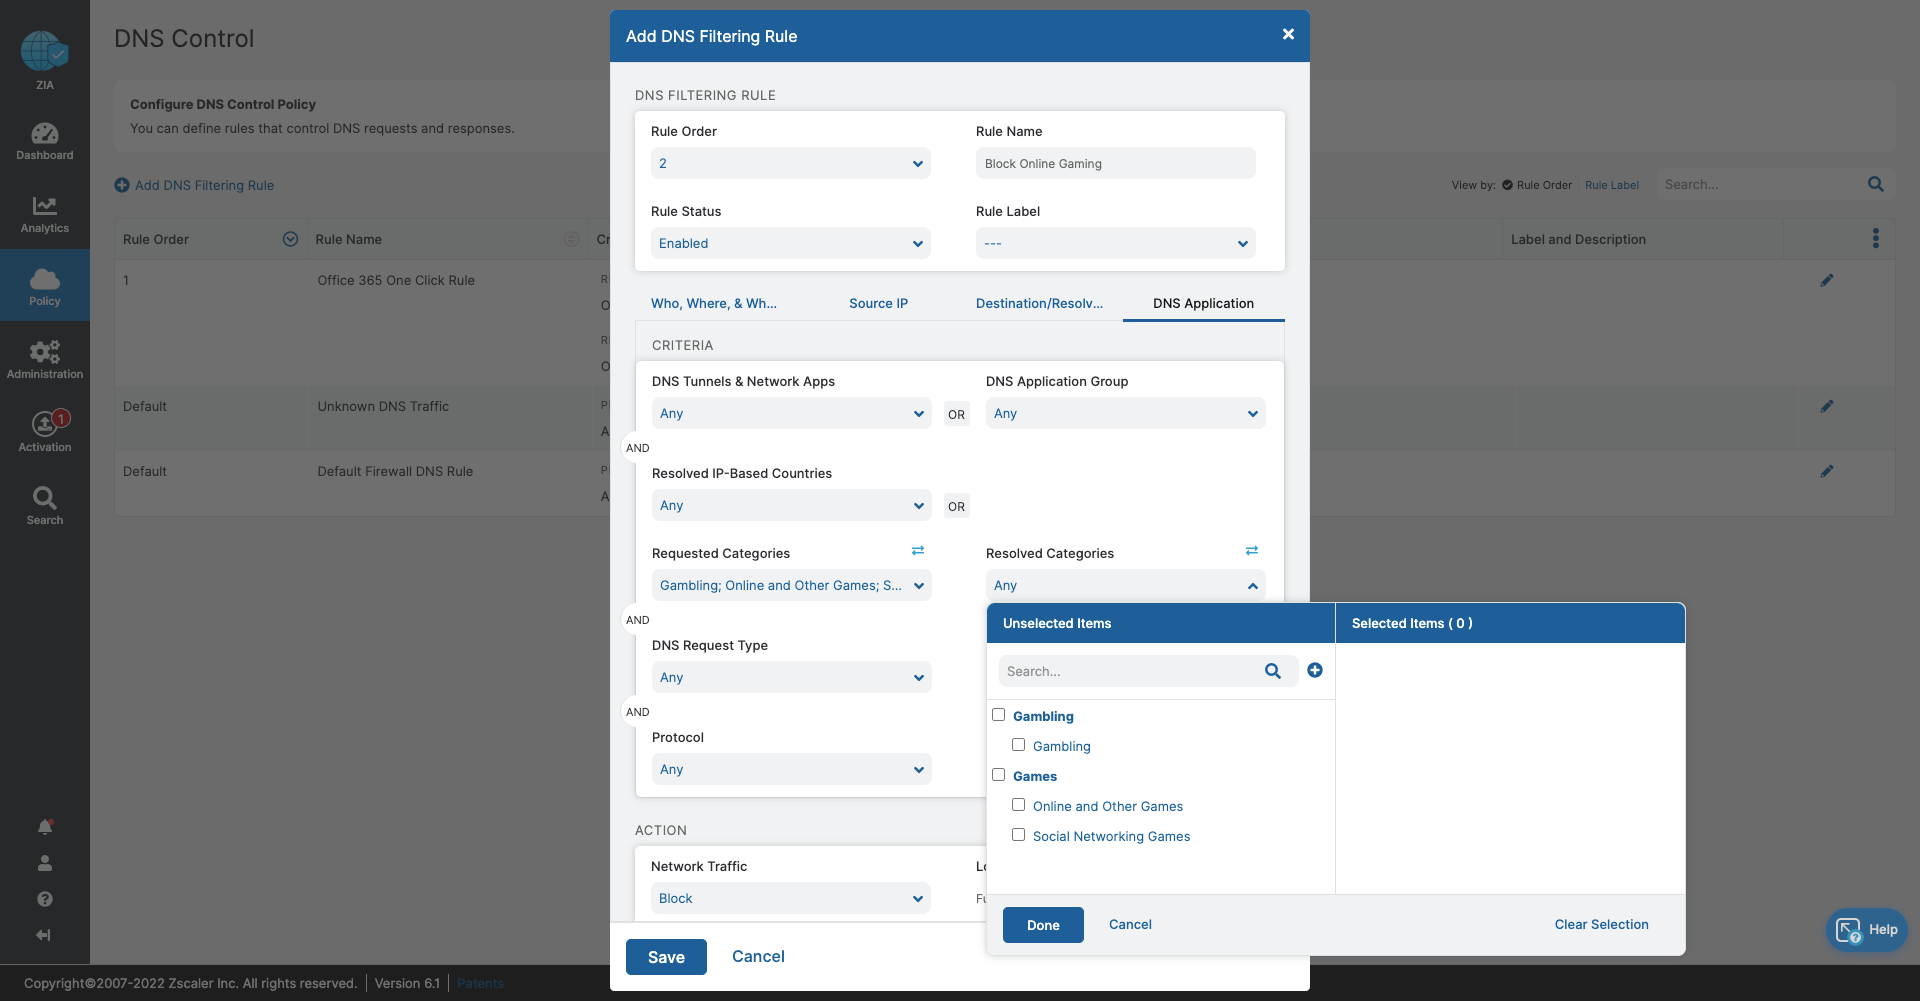
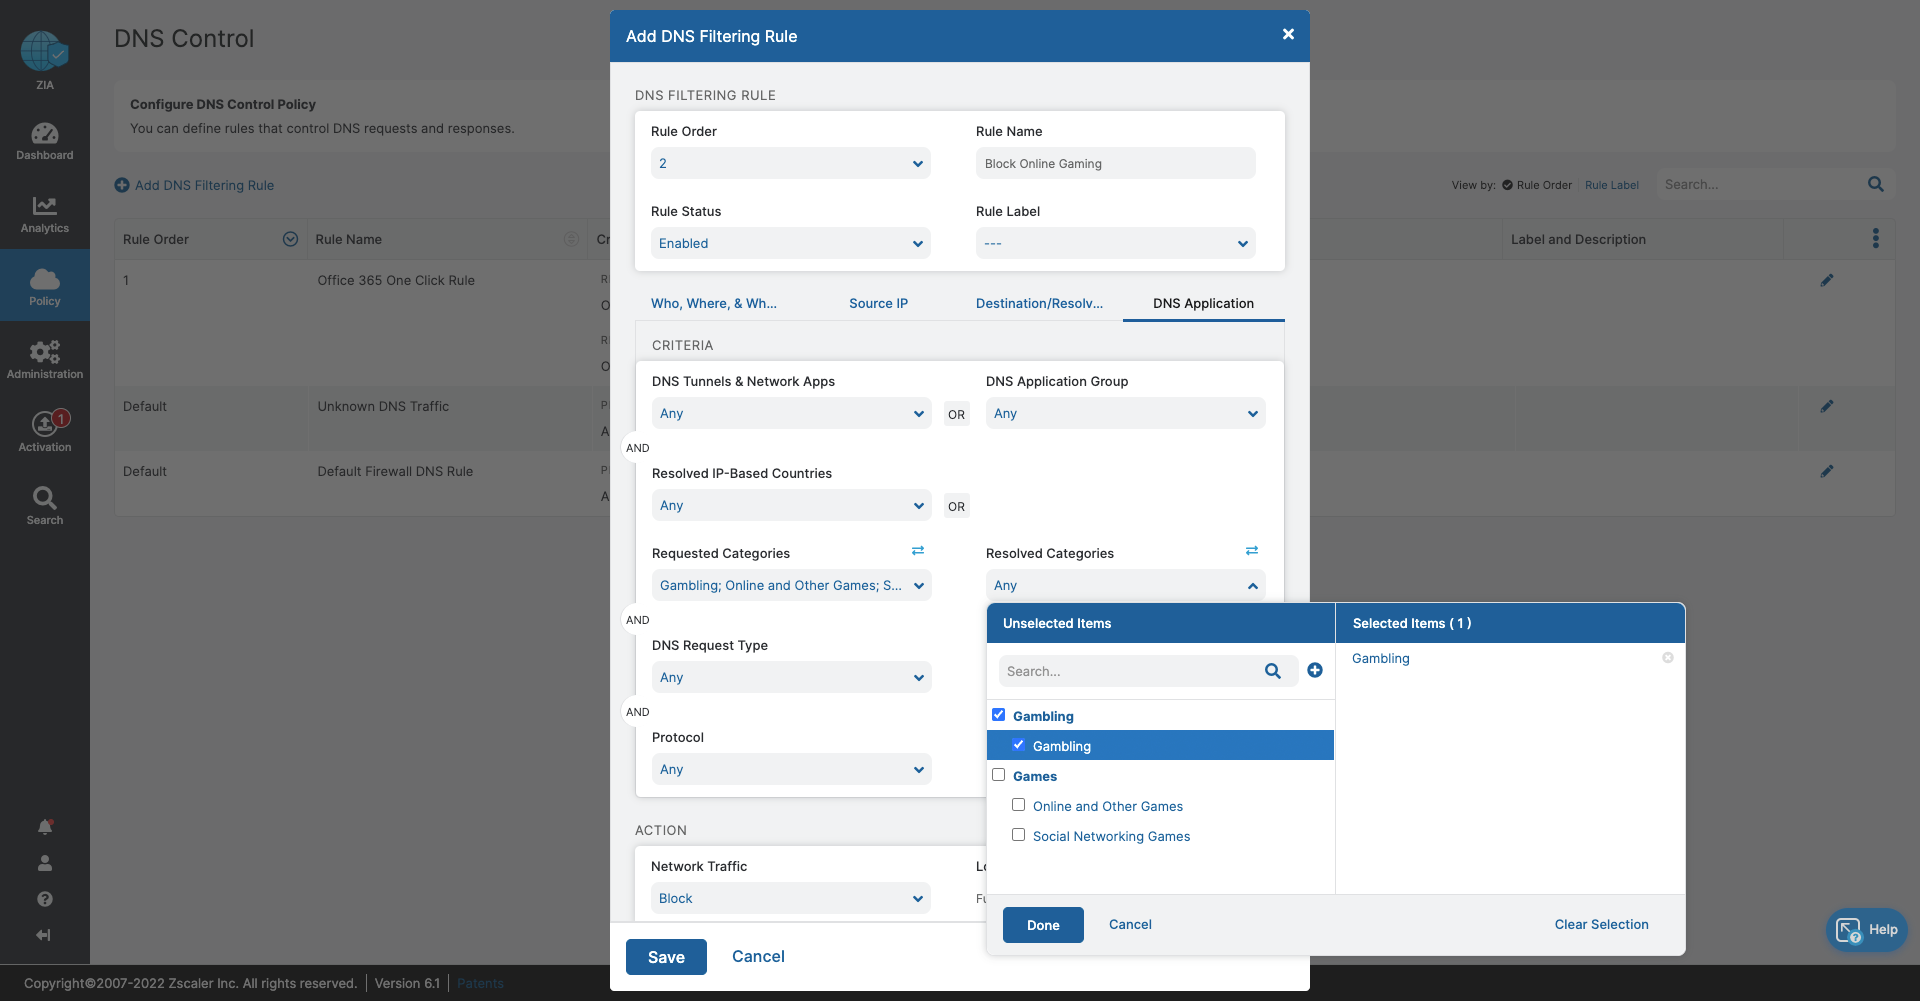
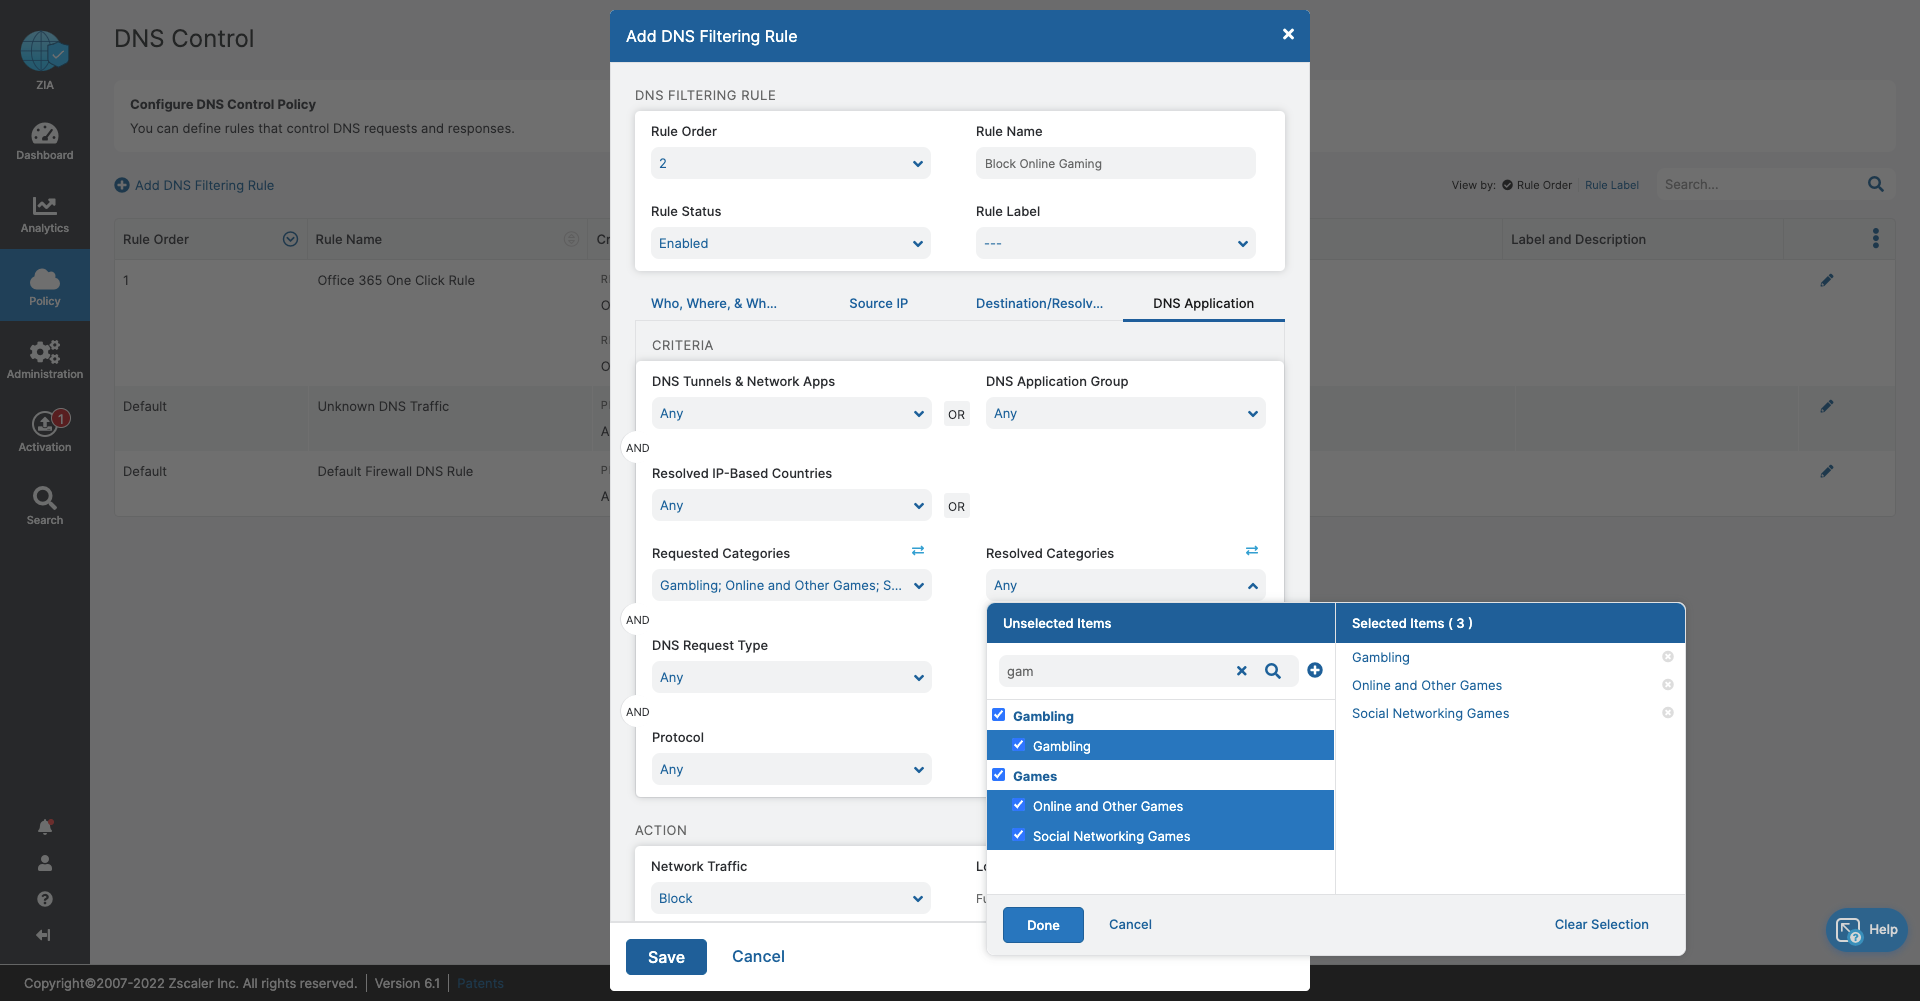
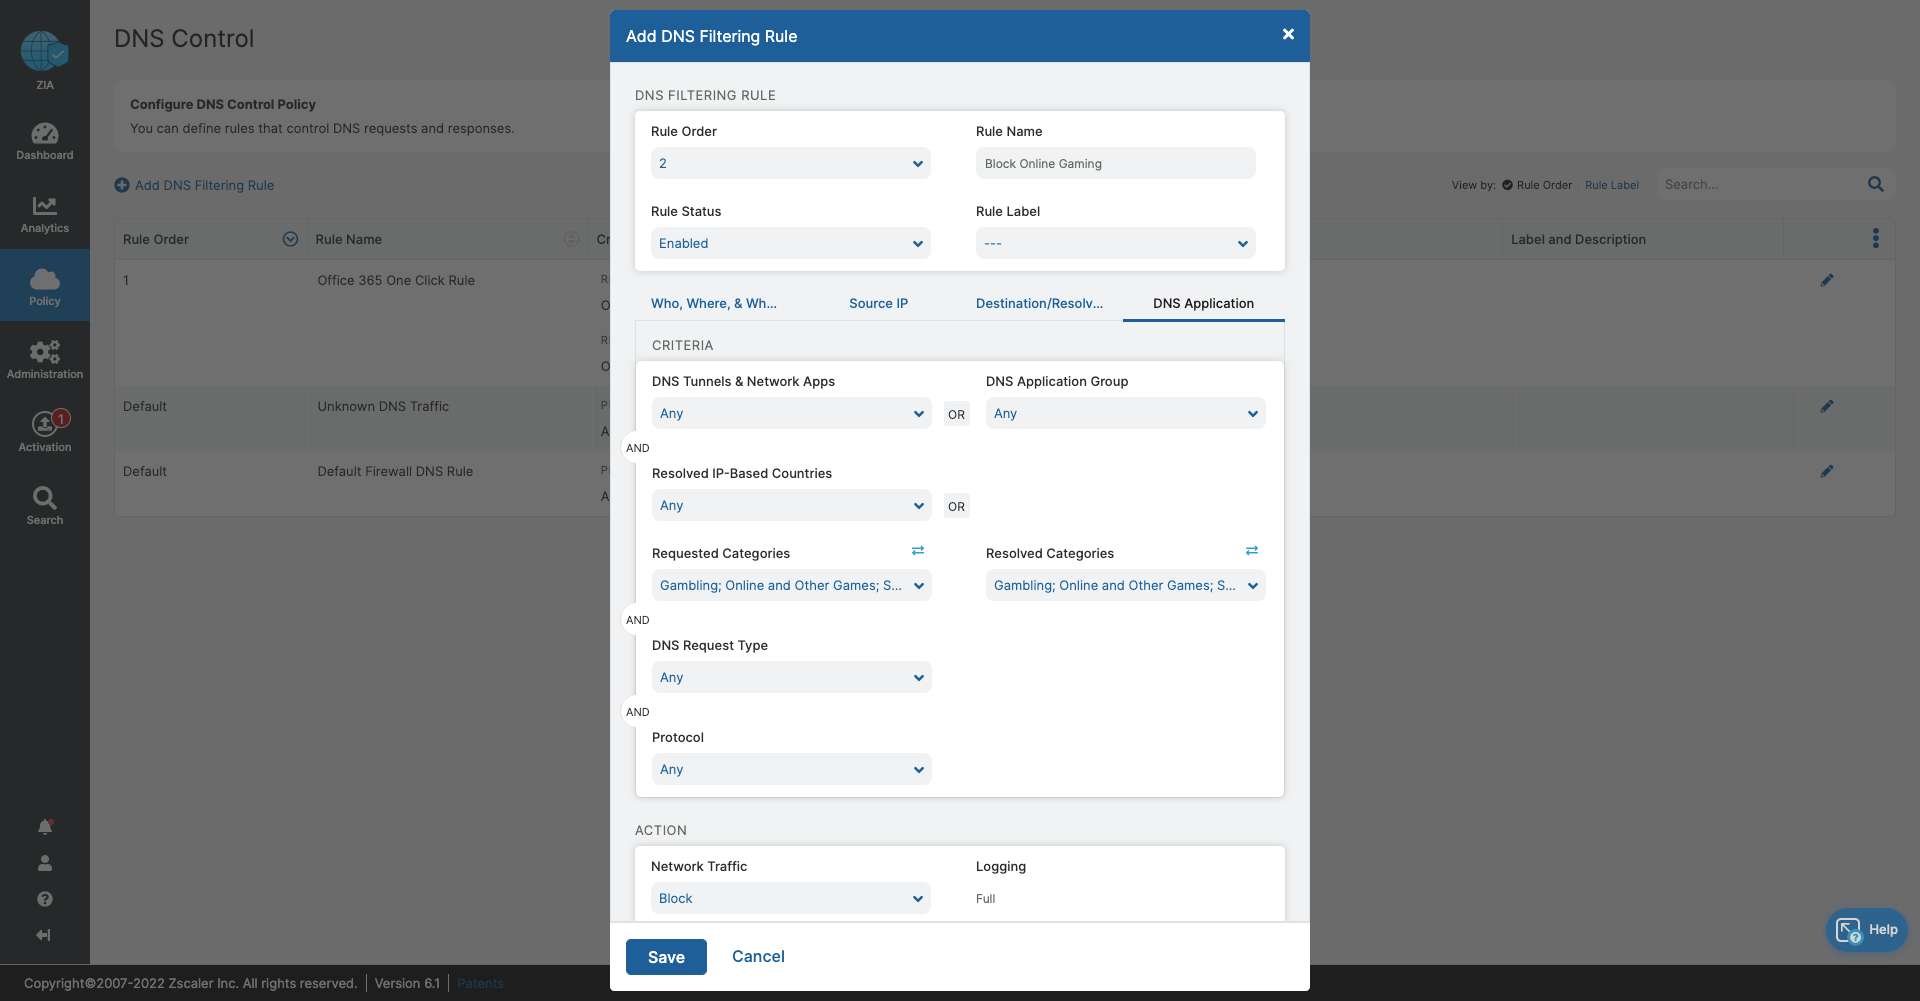
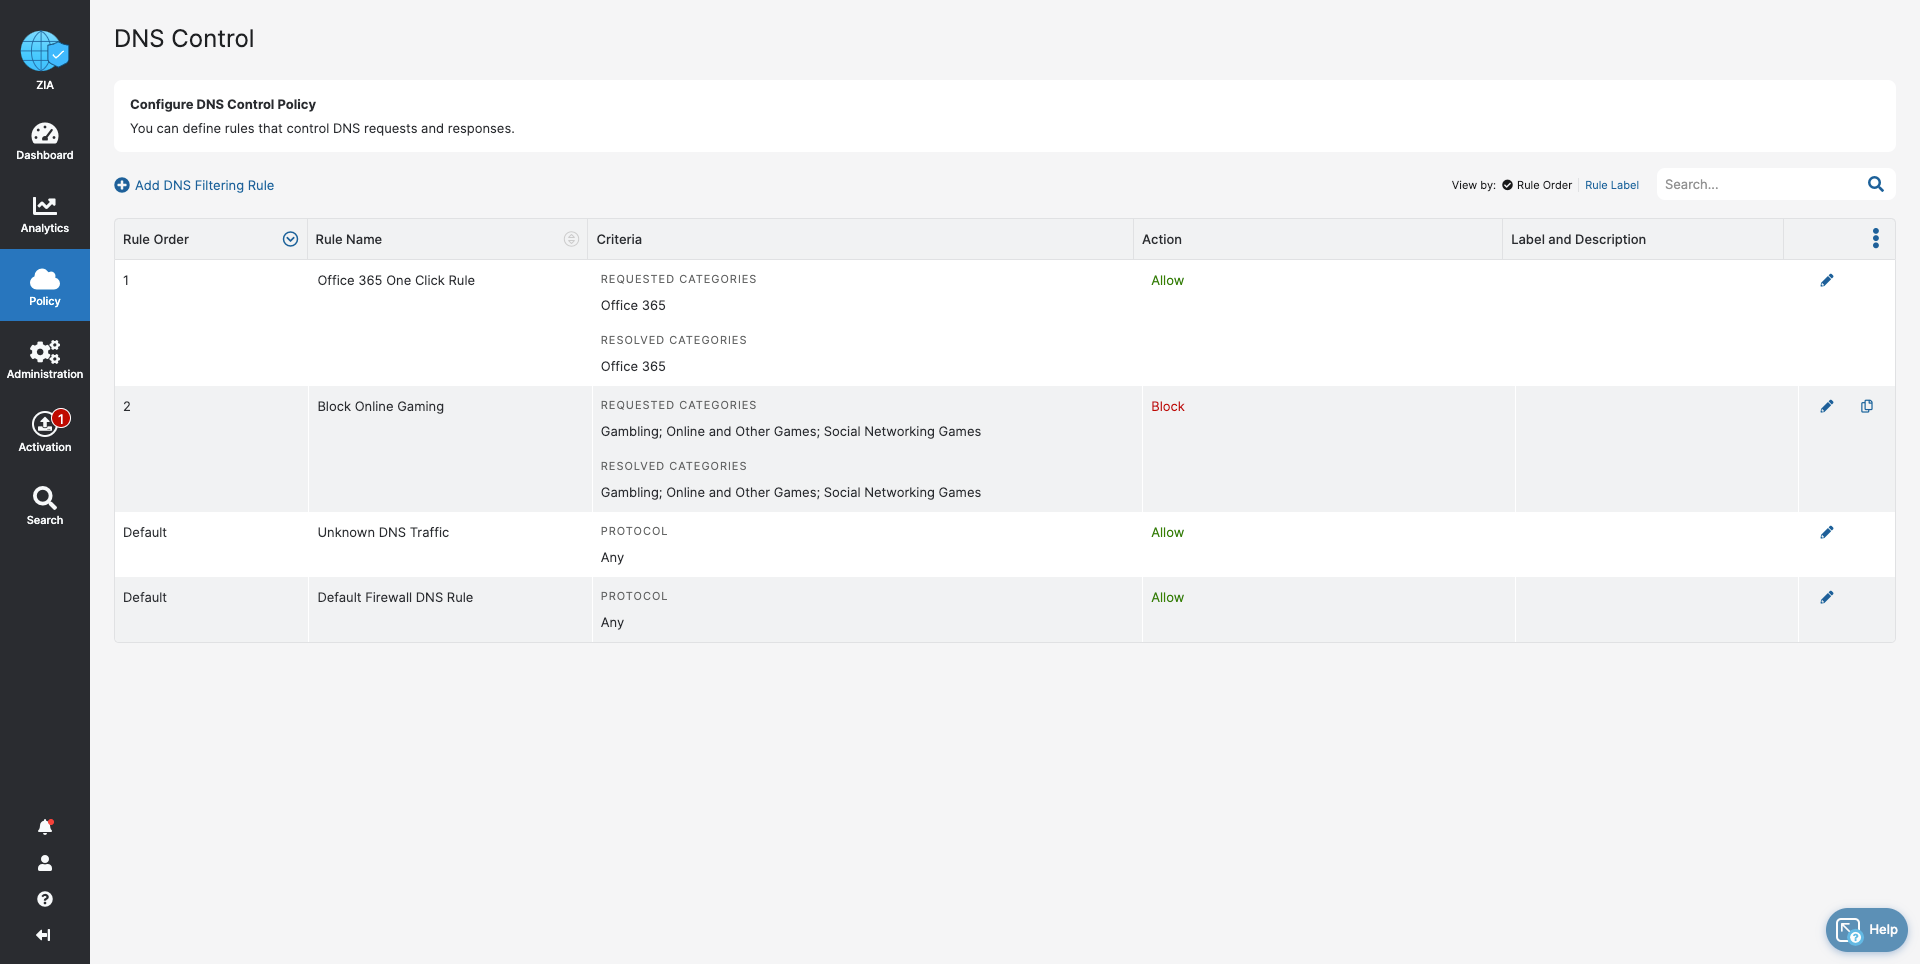
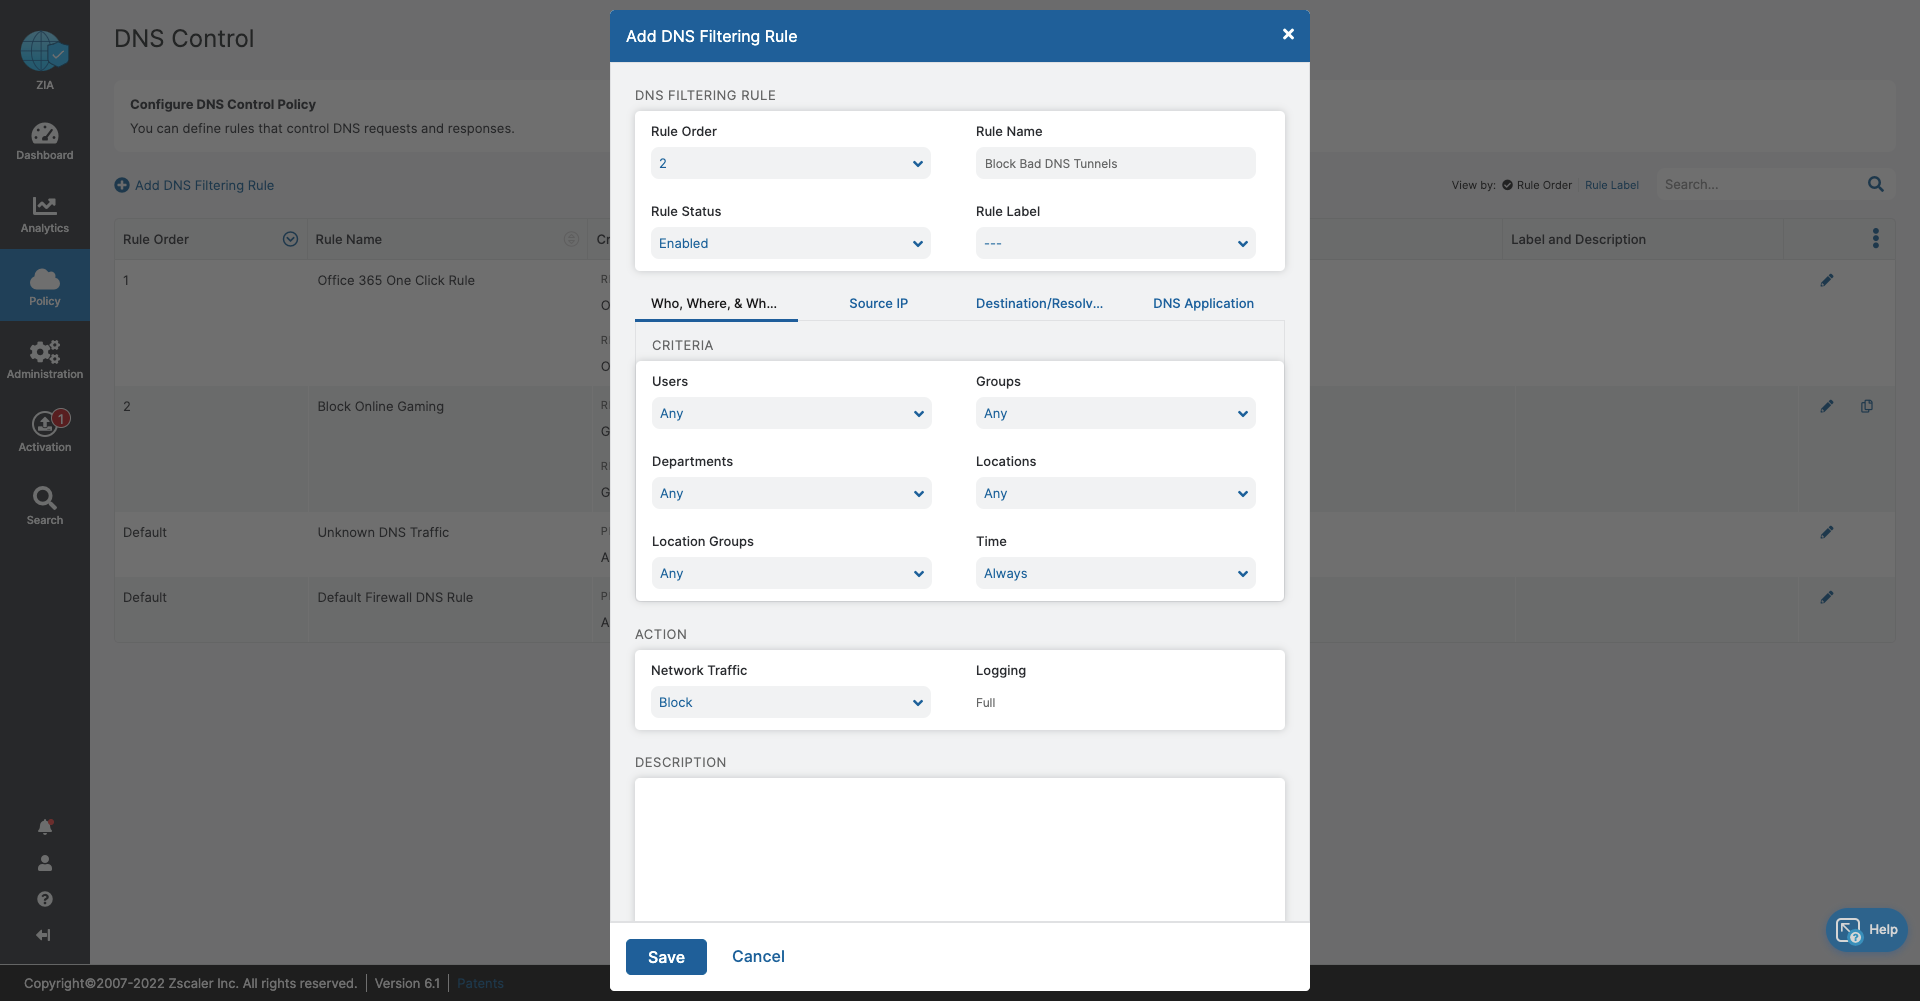
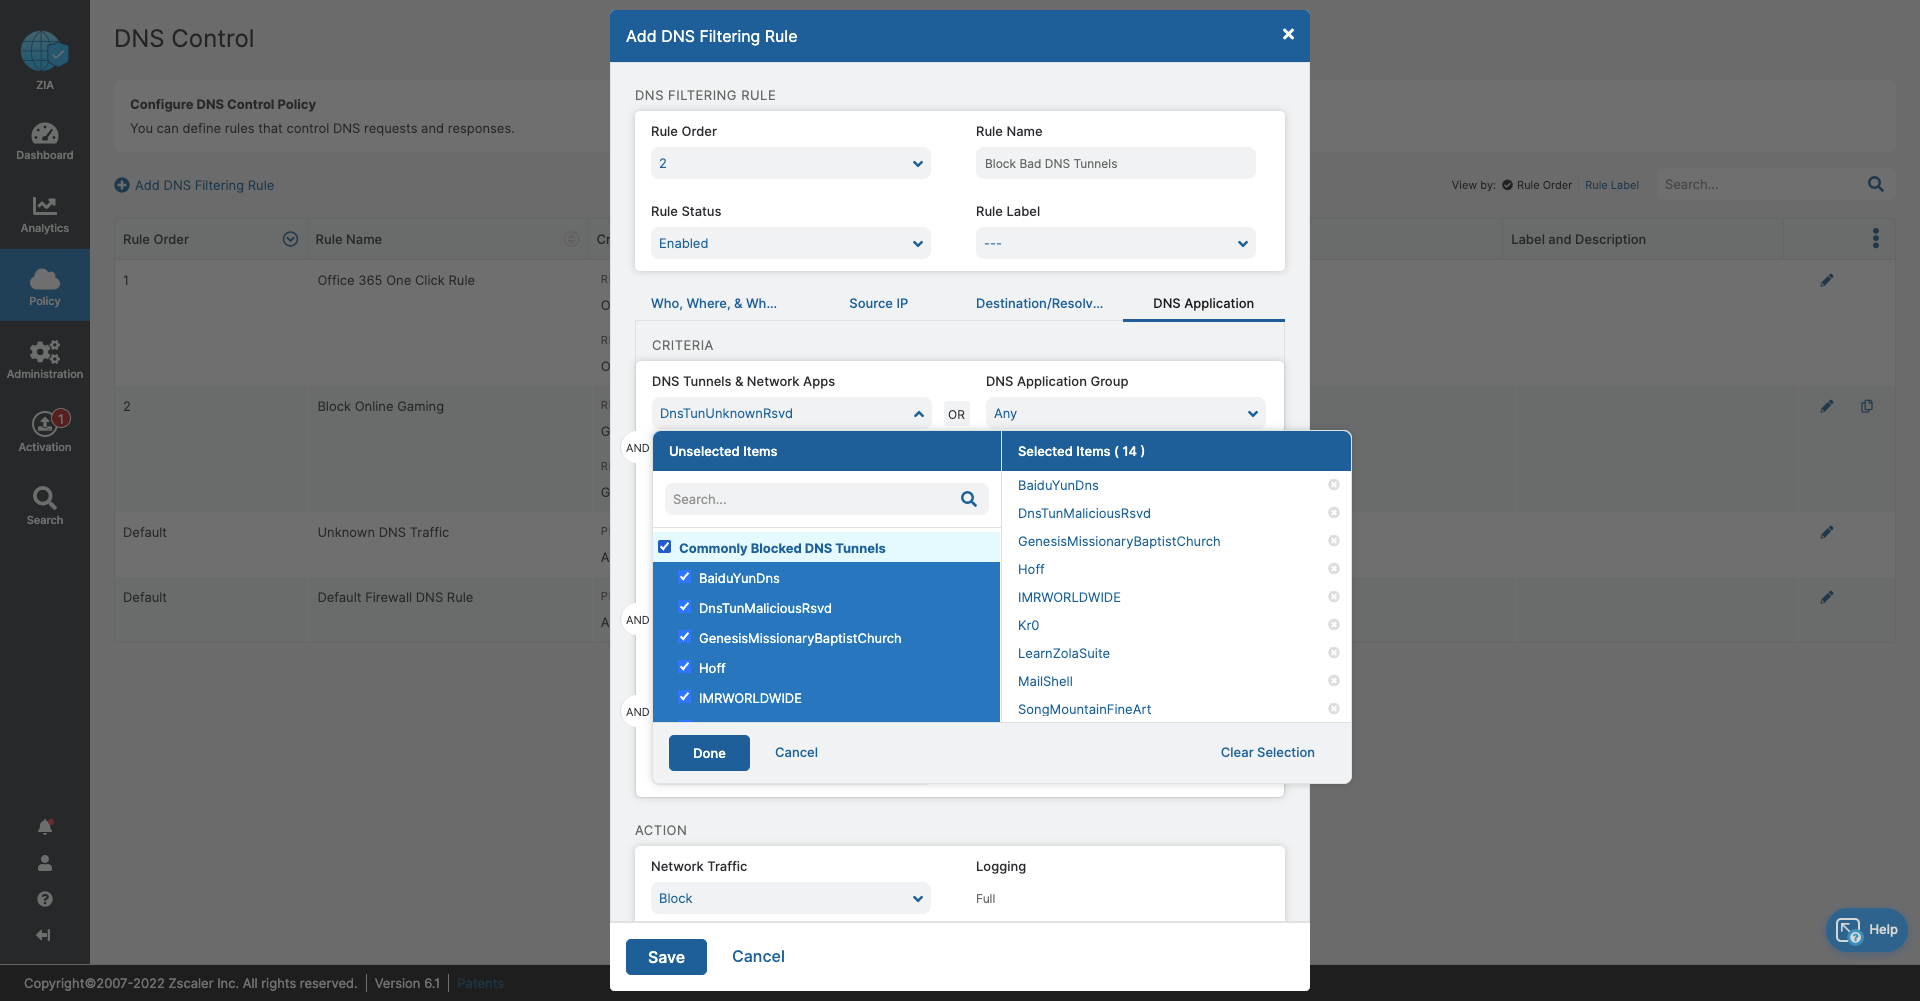
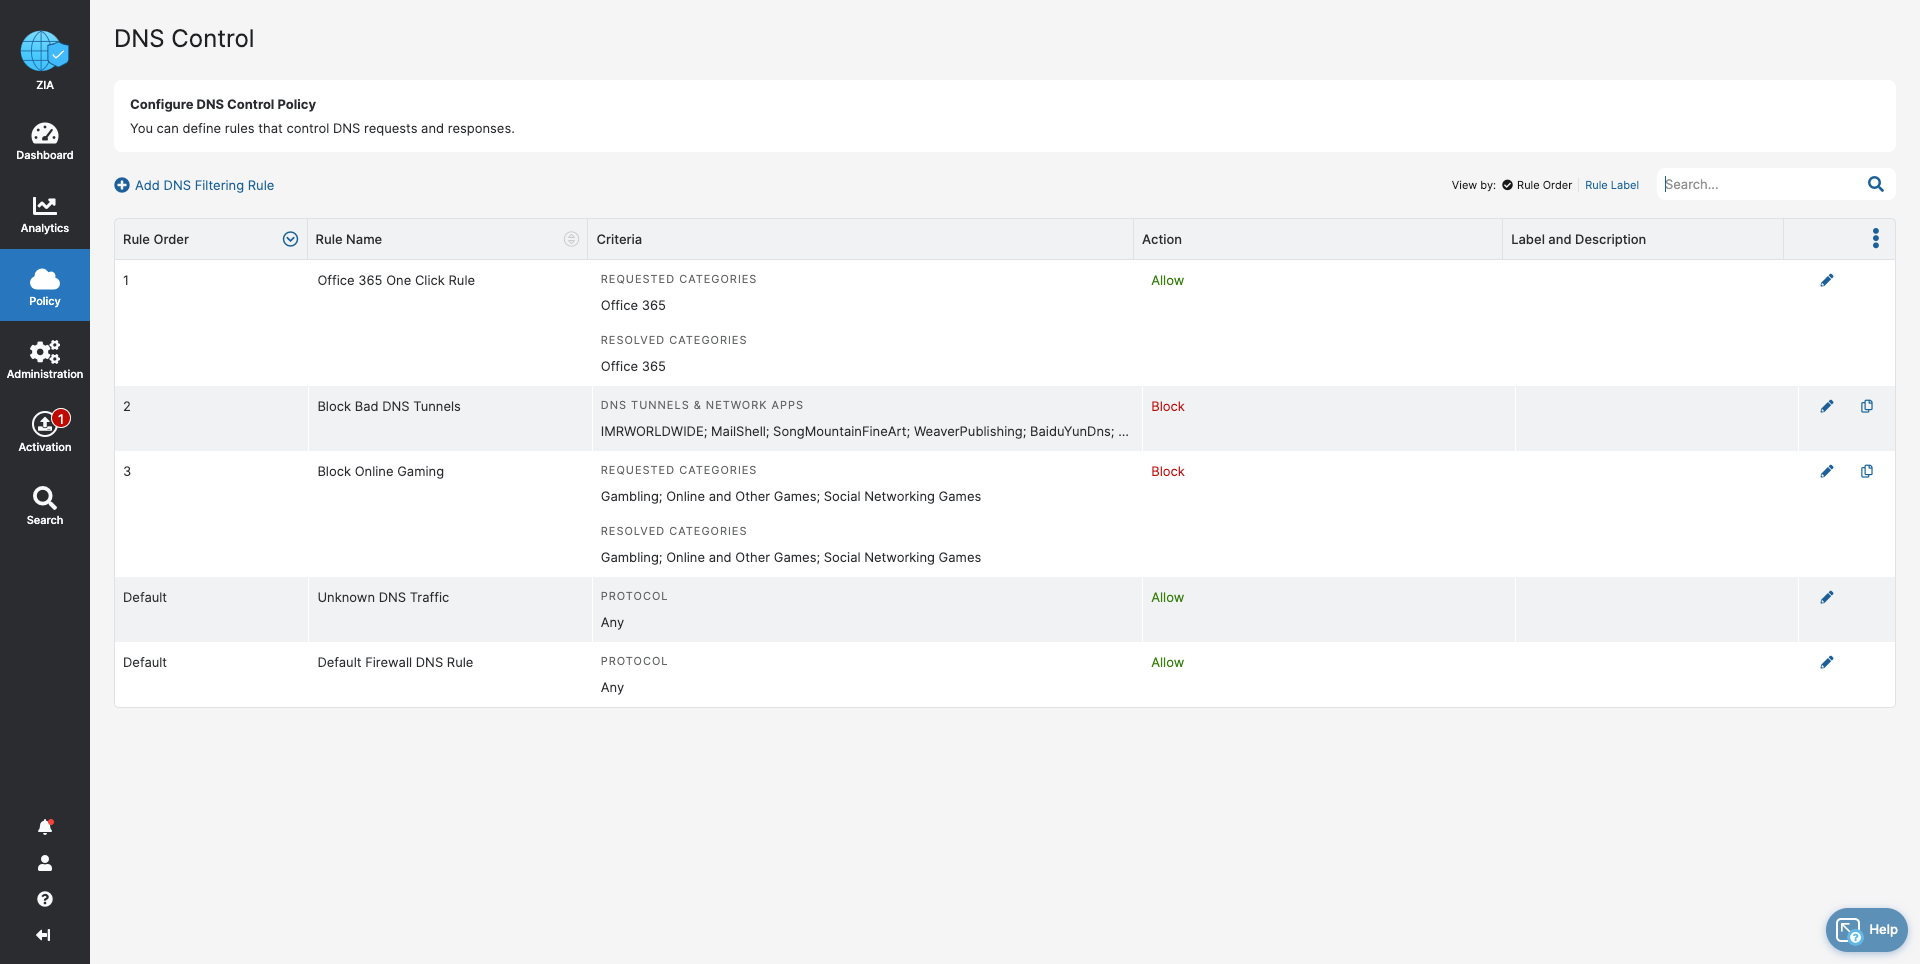
- DNS Control
- Stop bandwidth-heavy traffic while ensuring quality of service and prioritization of business activities
- Prevent data exfiltration or botnet call backs
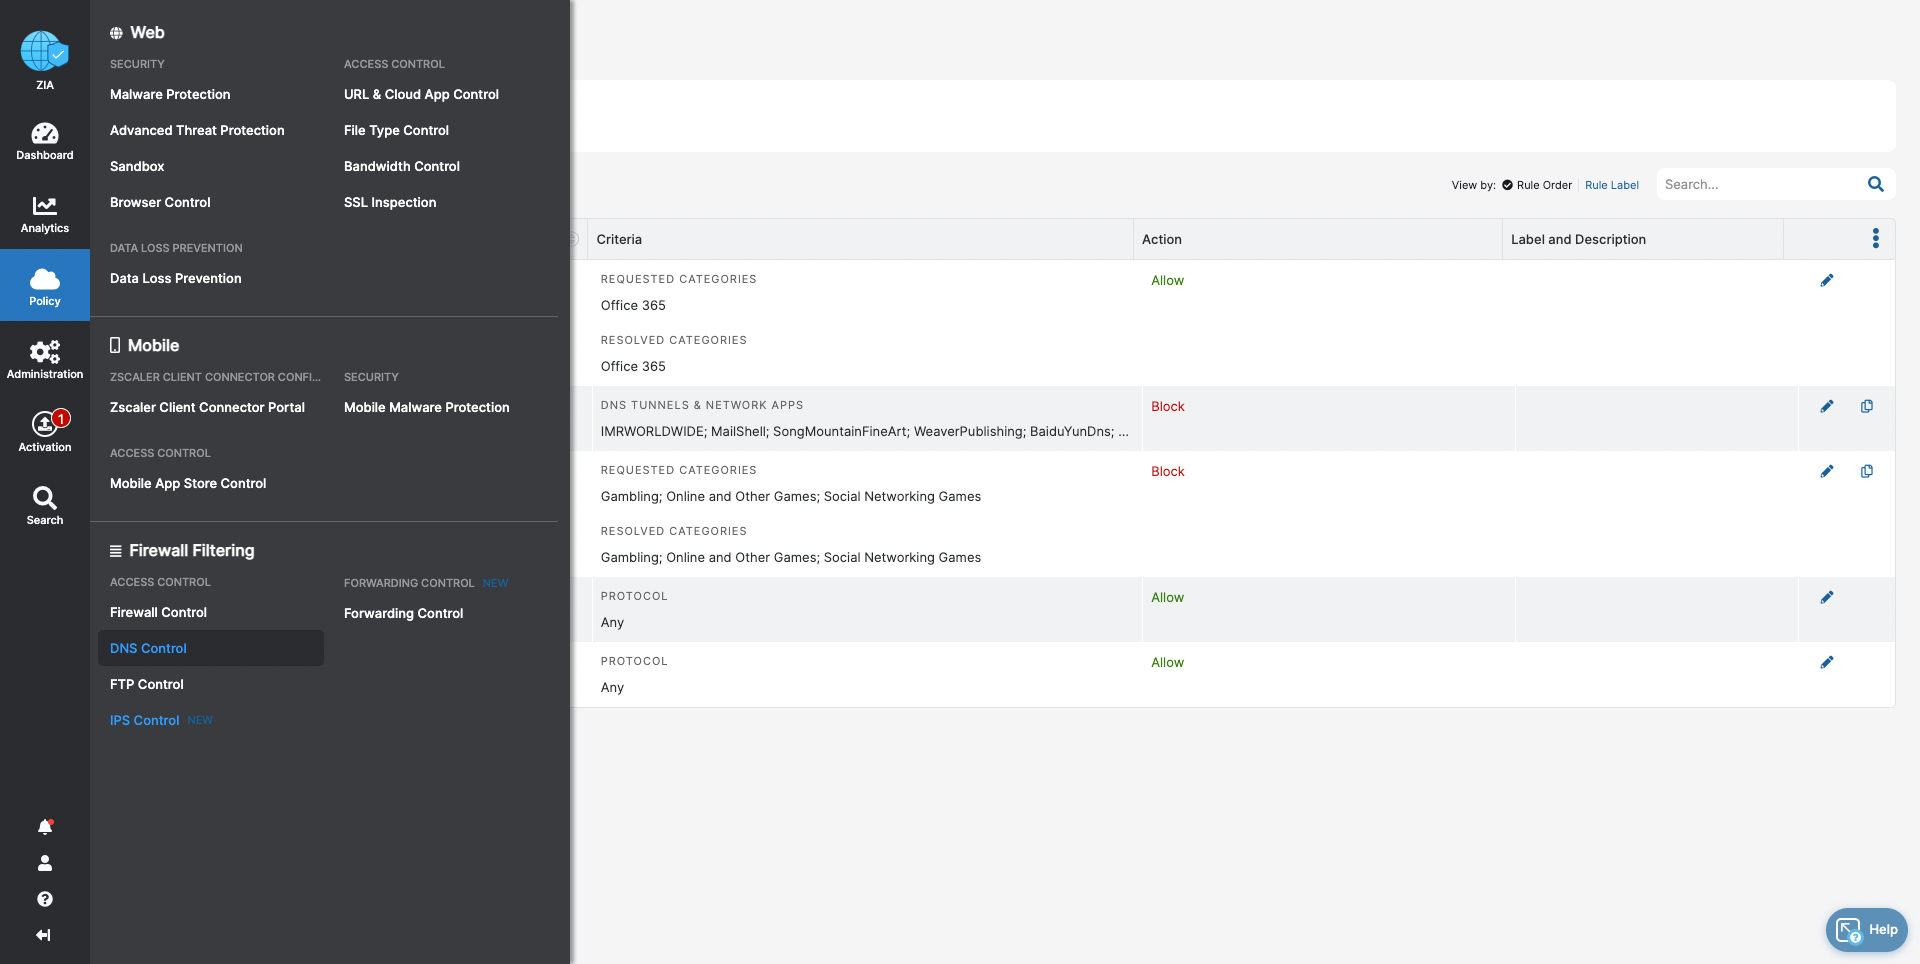
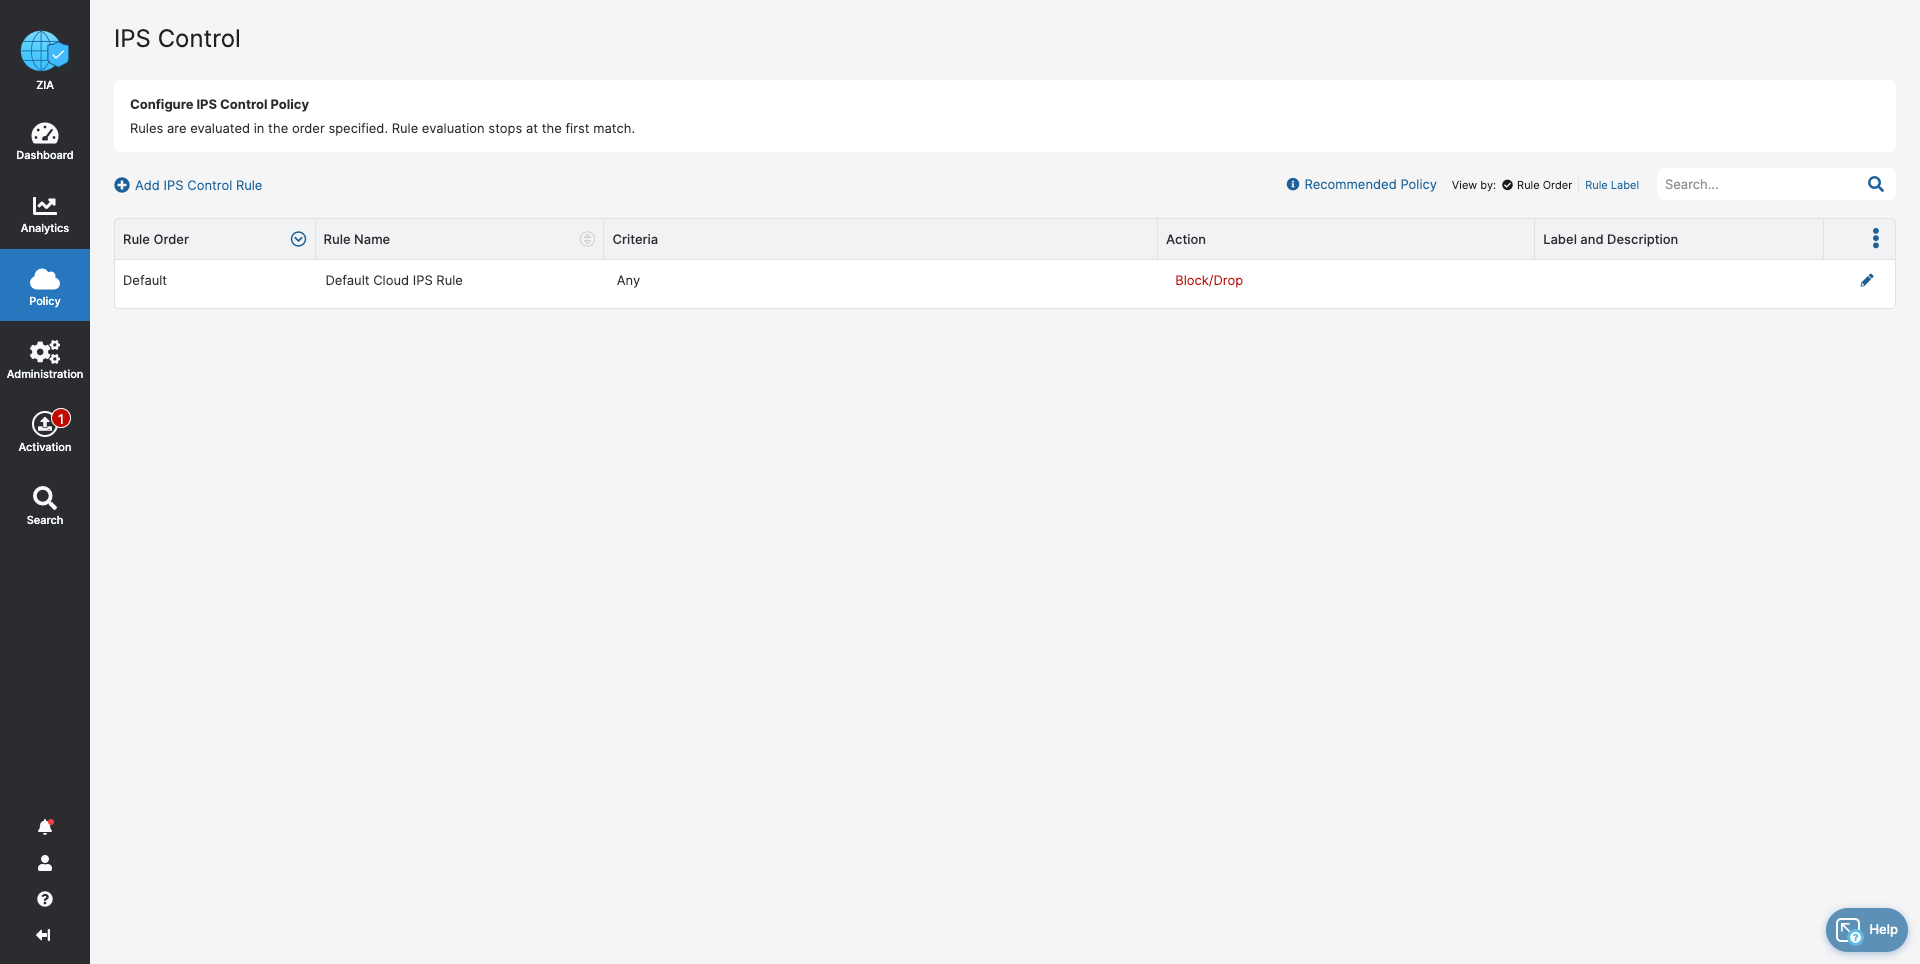
- IPS Control
- Prevent known threats by default